
A 100 year old building was torn down, and a friend who worked for the construction company doing the work asked if I would be interested in the floor joists. He and his sons brought them to my shop where we did a quick test to confirm they were pine. Each board measured a rough 2 1/2″ thick by 13″ - 14″ wide. They varied in length up to 12 feet (the demolition crew had already reduced the lengths of the joists in order to remove them from the site). Surprisingly heavy for pine boards, these were beasts to lift, let alone move them around the shop repeatedly as I processed them.
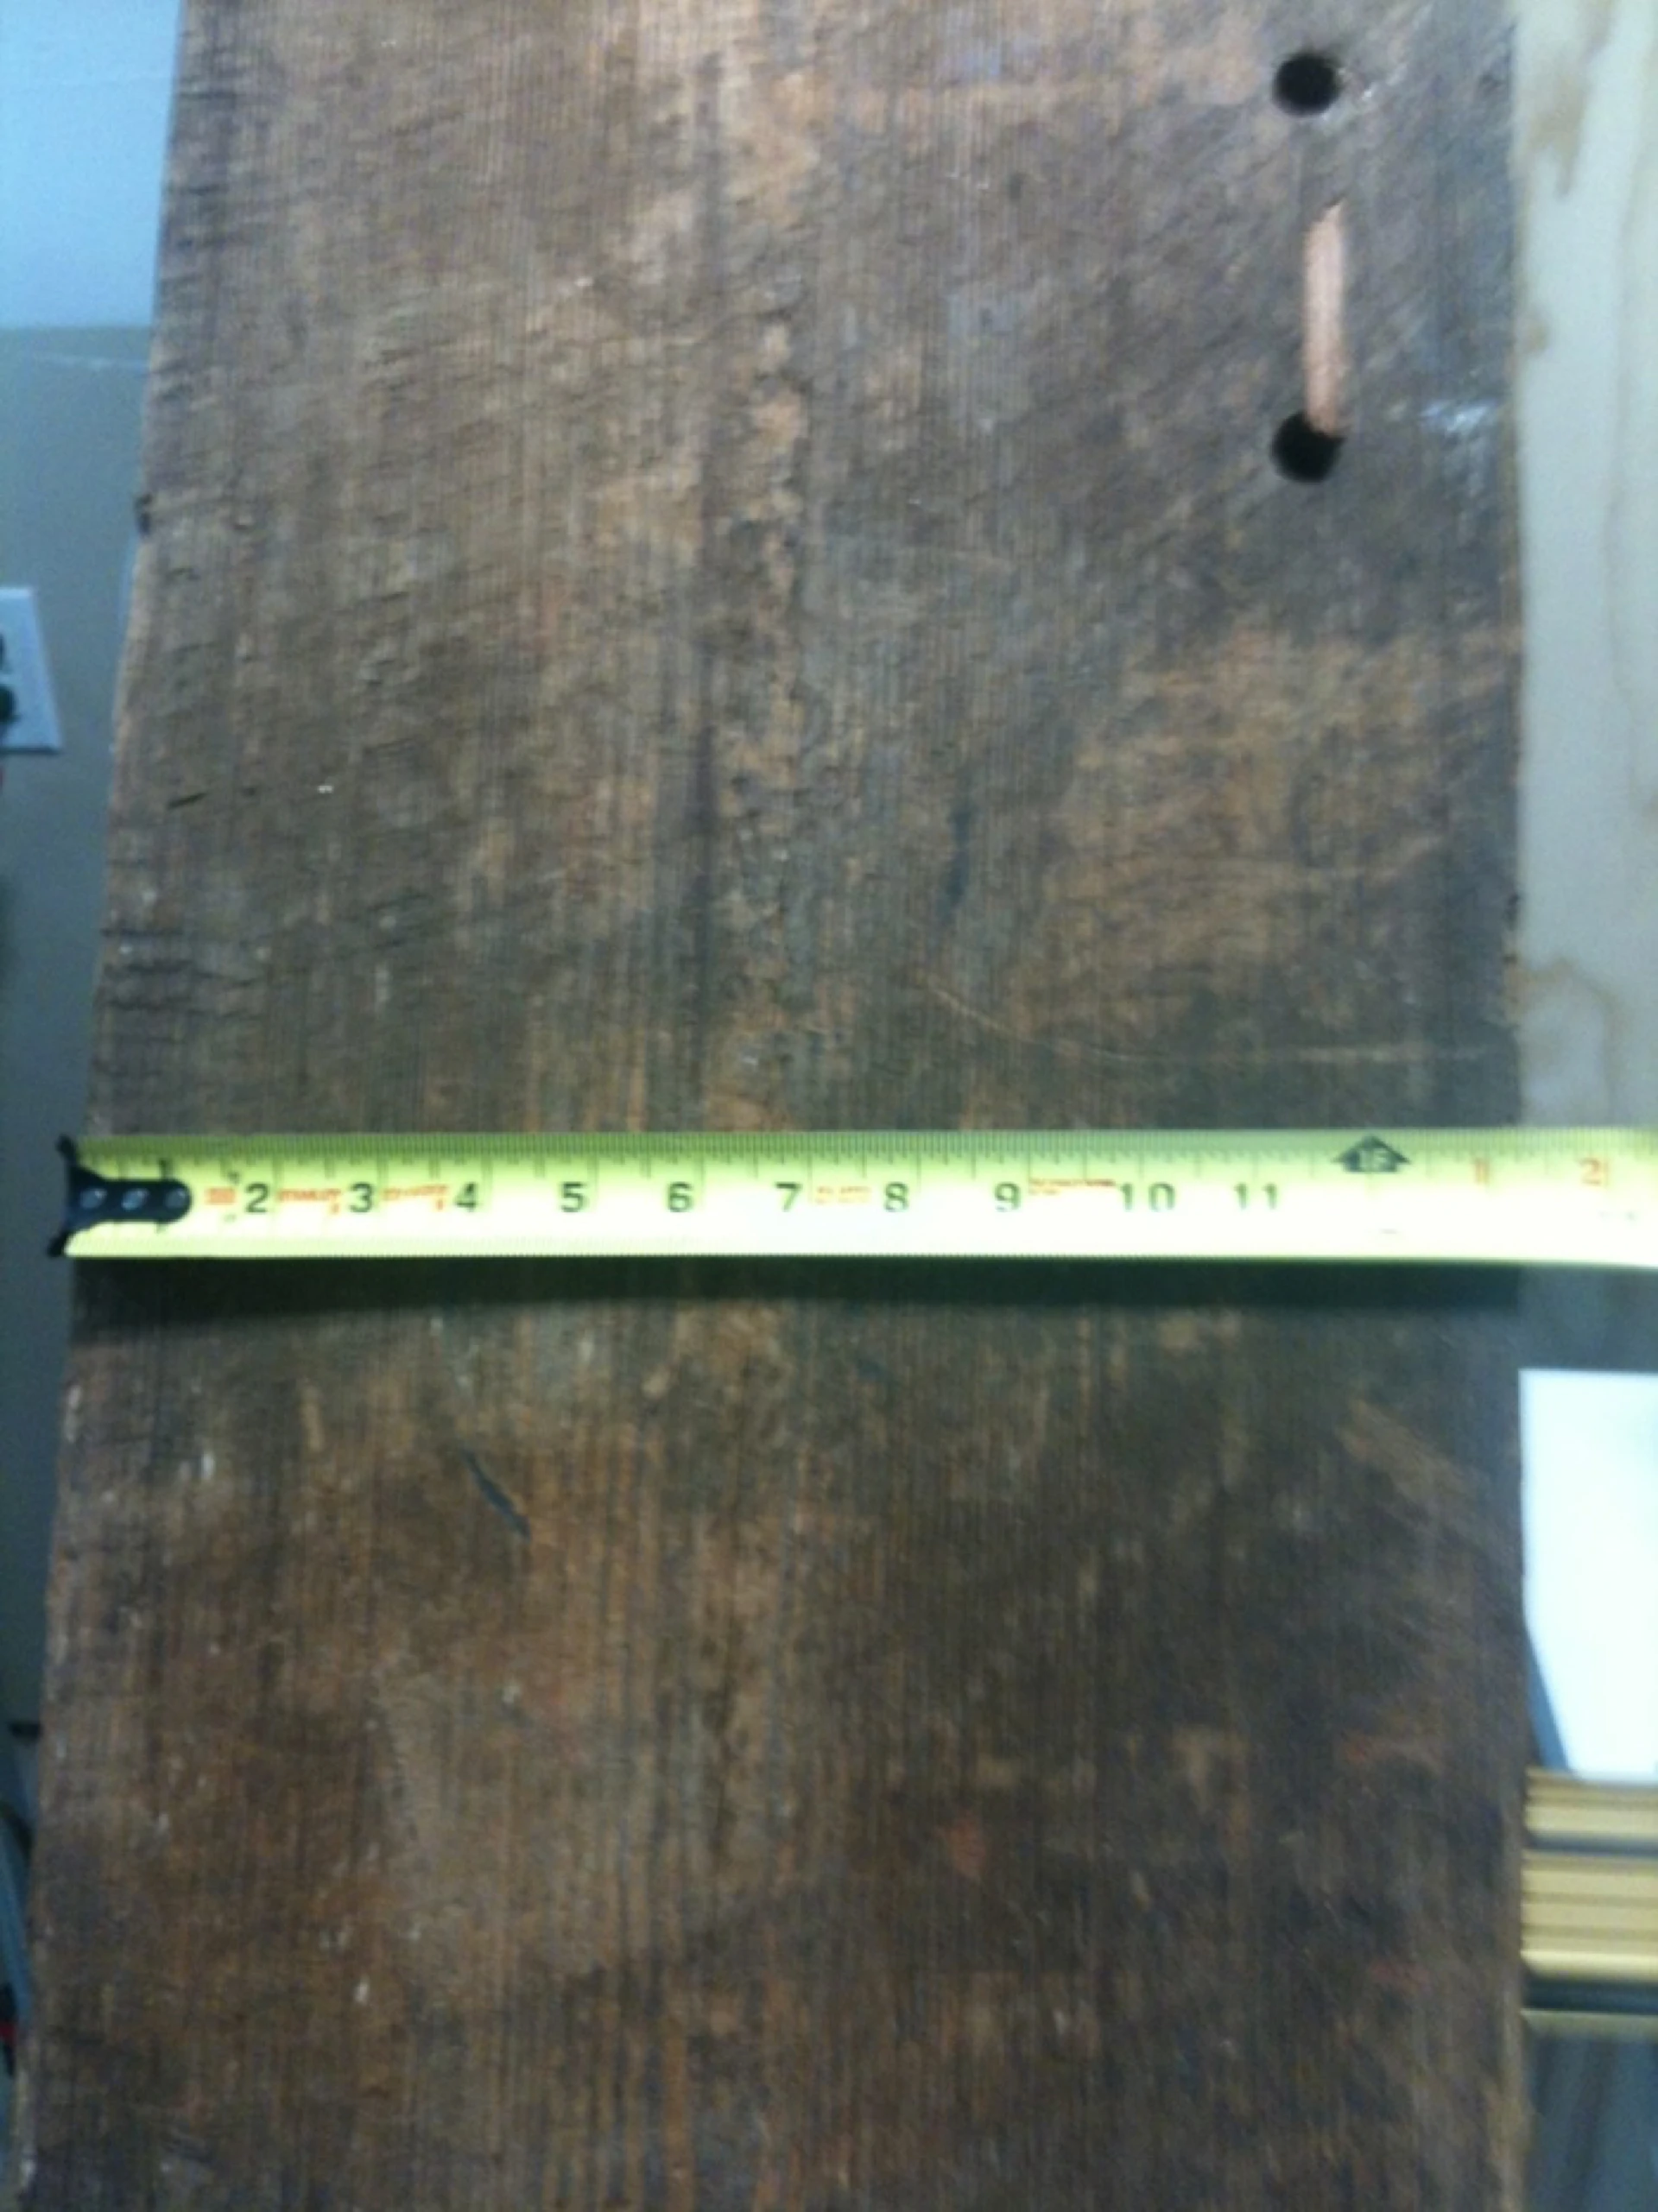
Former Floor Joists
Using a metal detection wand I removed nearly 10 pounds of metal from these old boards (mostly old cut nails).
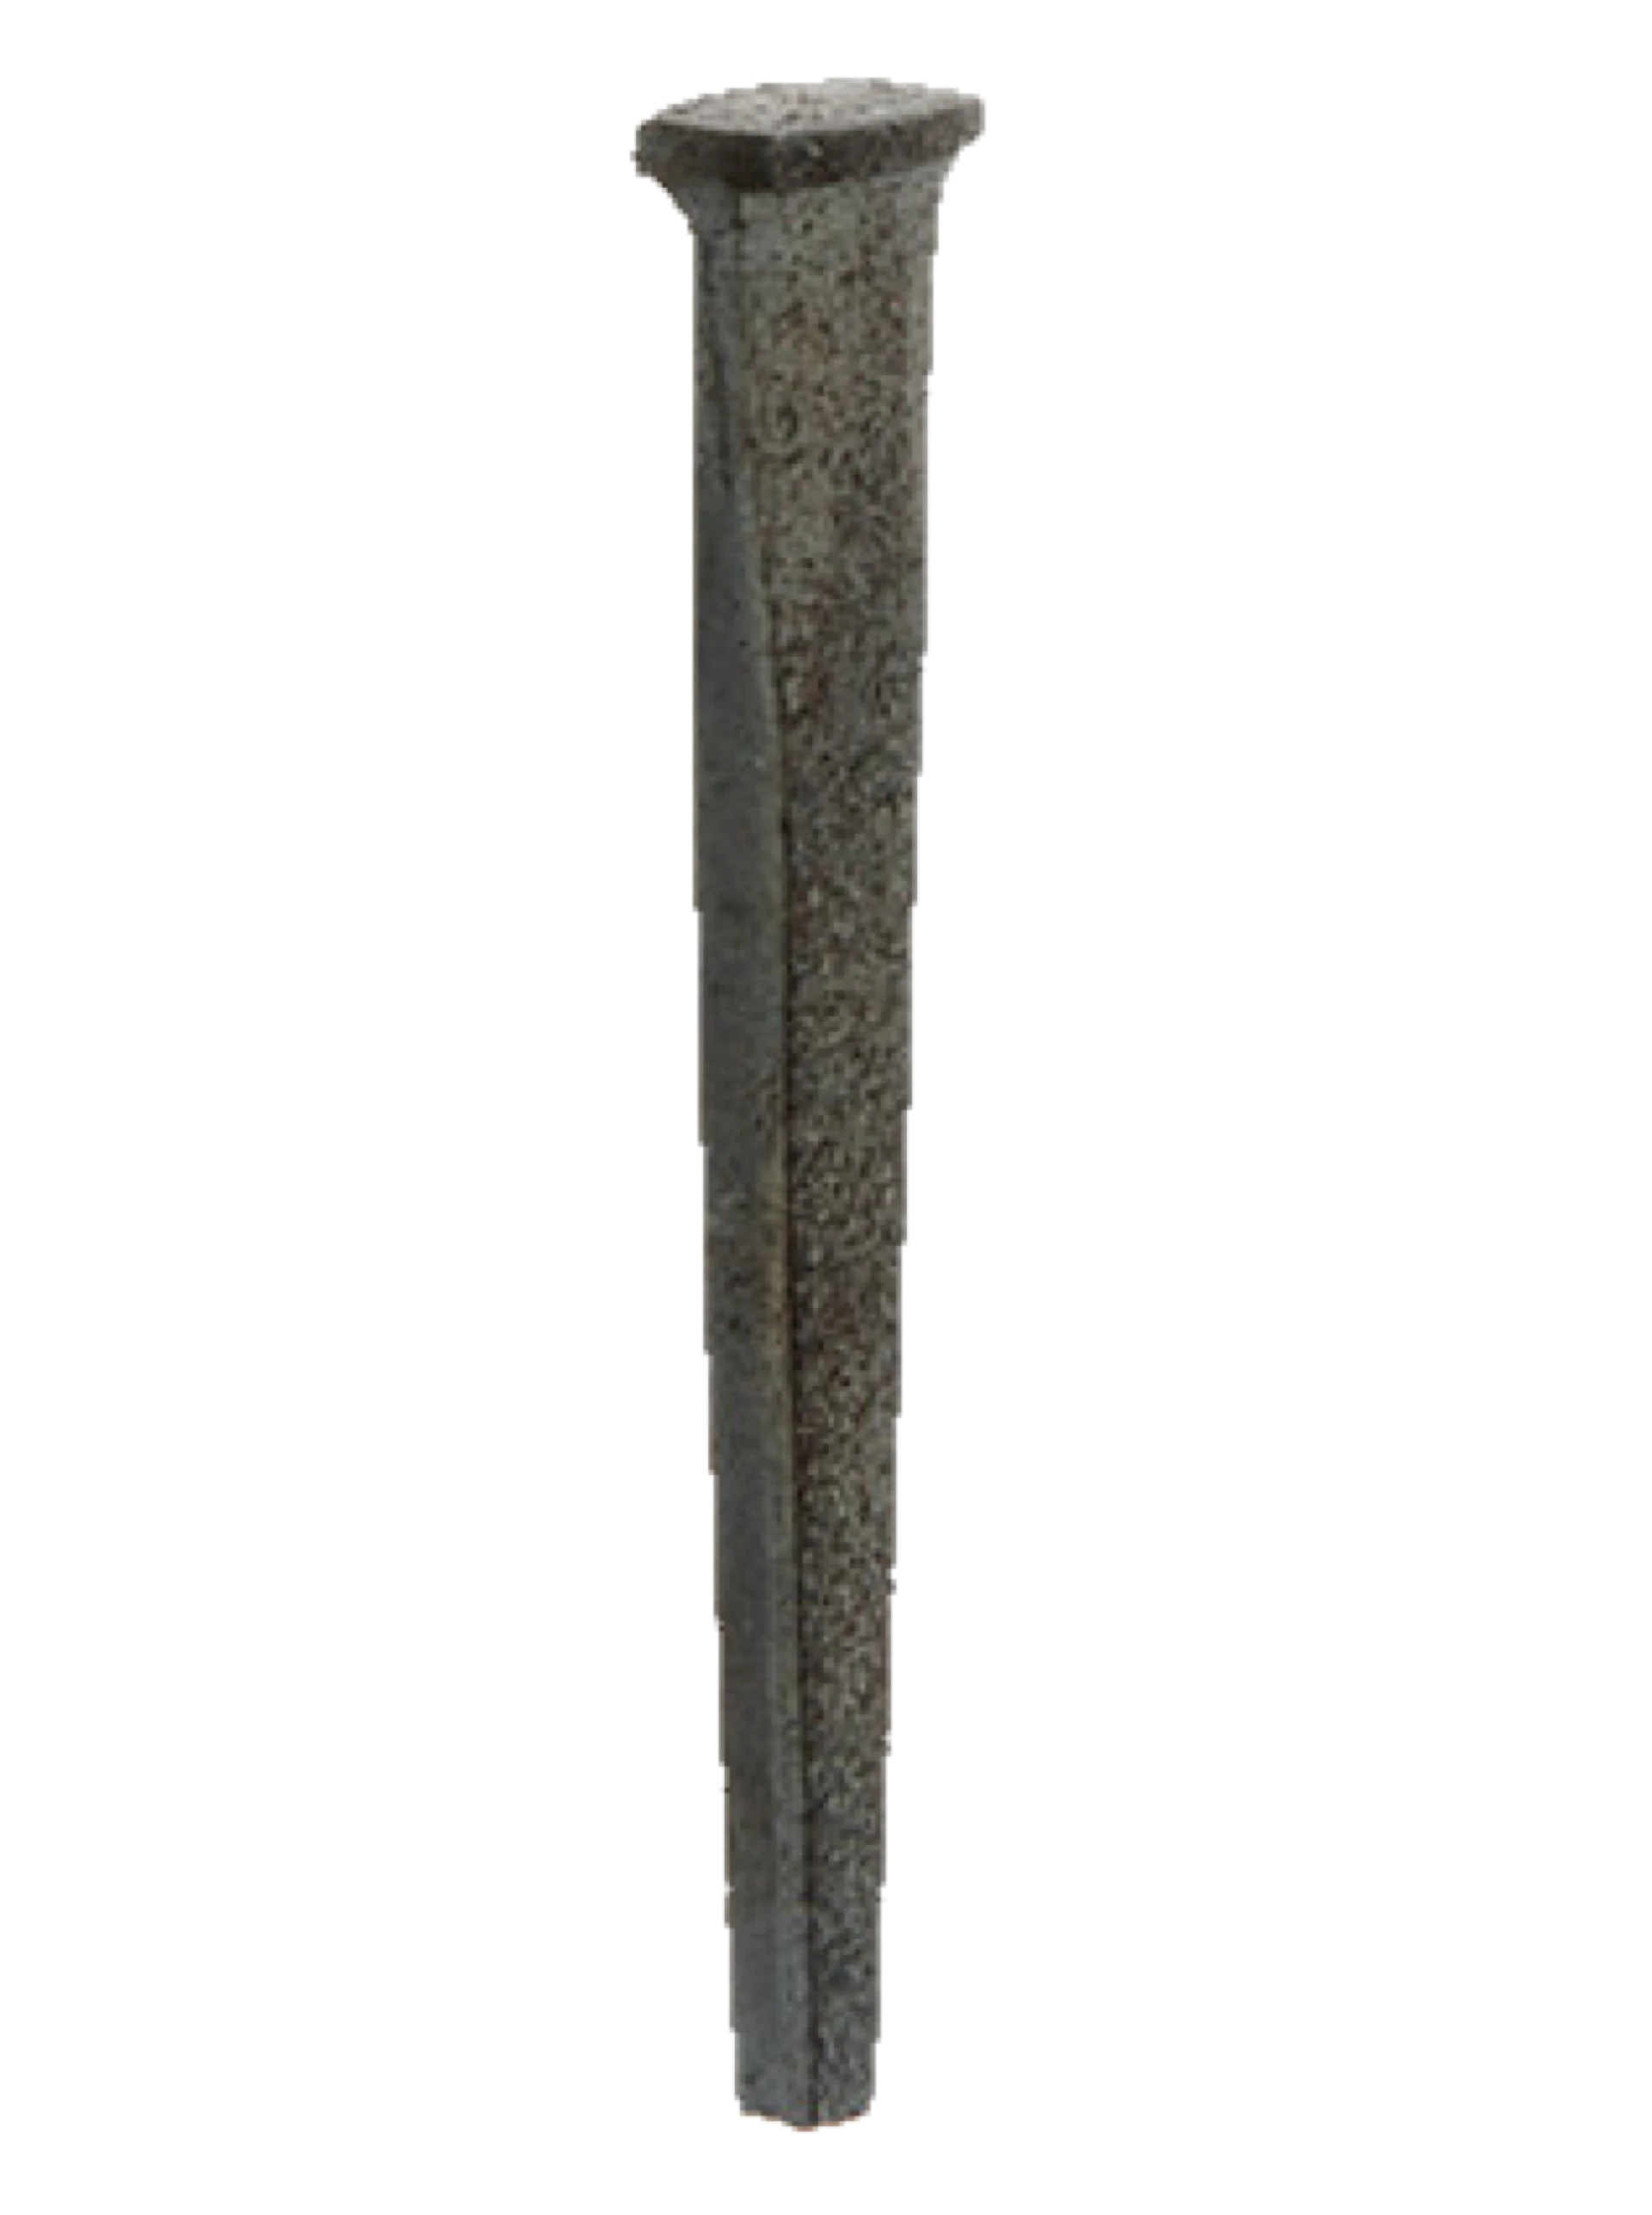
Cut Nails
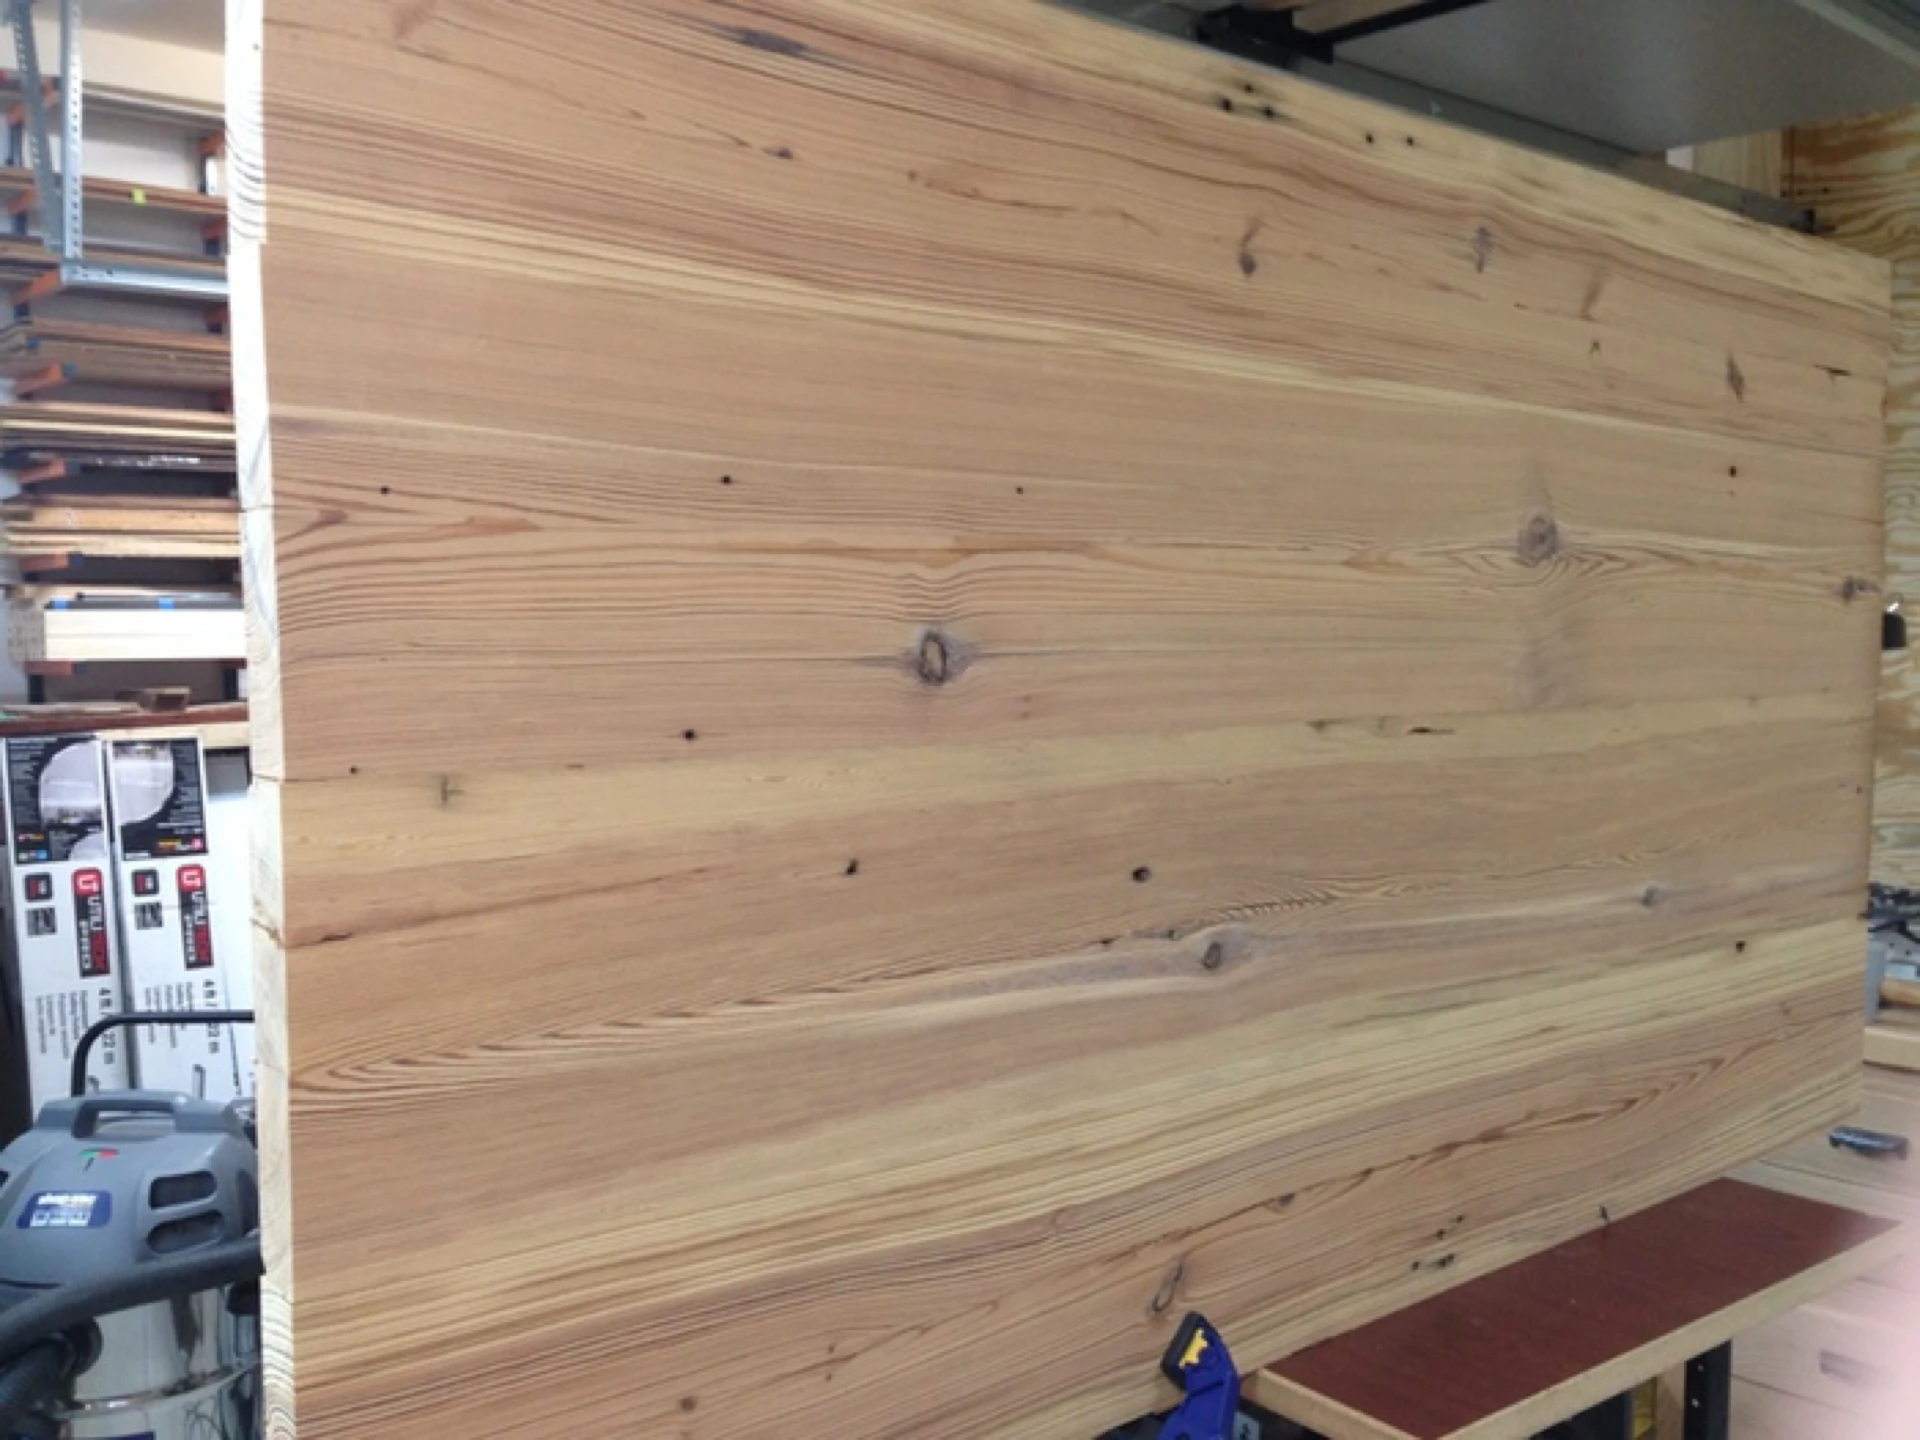
I planed off the dirt and saw marks (from the sawmill). Some of these boards revealed serious vintage pine with stunning patina!
Patina
Once I saw what I had to work with I envisioned a rustic trestle table emerging from this stack of boards and quickly pencil-sketched a pleasing design. The multi-piece trestle base idea would be short-lived, but the tabletop with breadboard ends turned out precisely as I had envisioned it. I had hoped to use no more than 4 each 10″ - 11″ boards for the top. Calculating measurements and cutting up these joists involved thinking out the individual parts needed and extracting those parts from the existing lumber. It is an iterative process, as you have finite material widths, thicknesses and lengths to start with and surprises along the way.
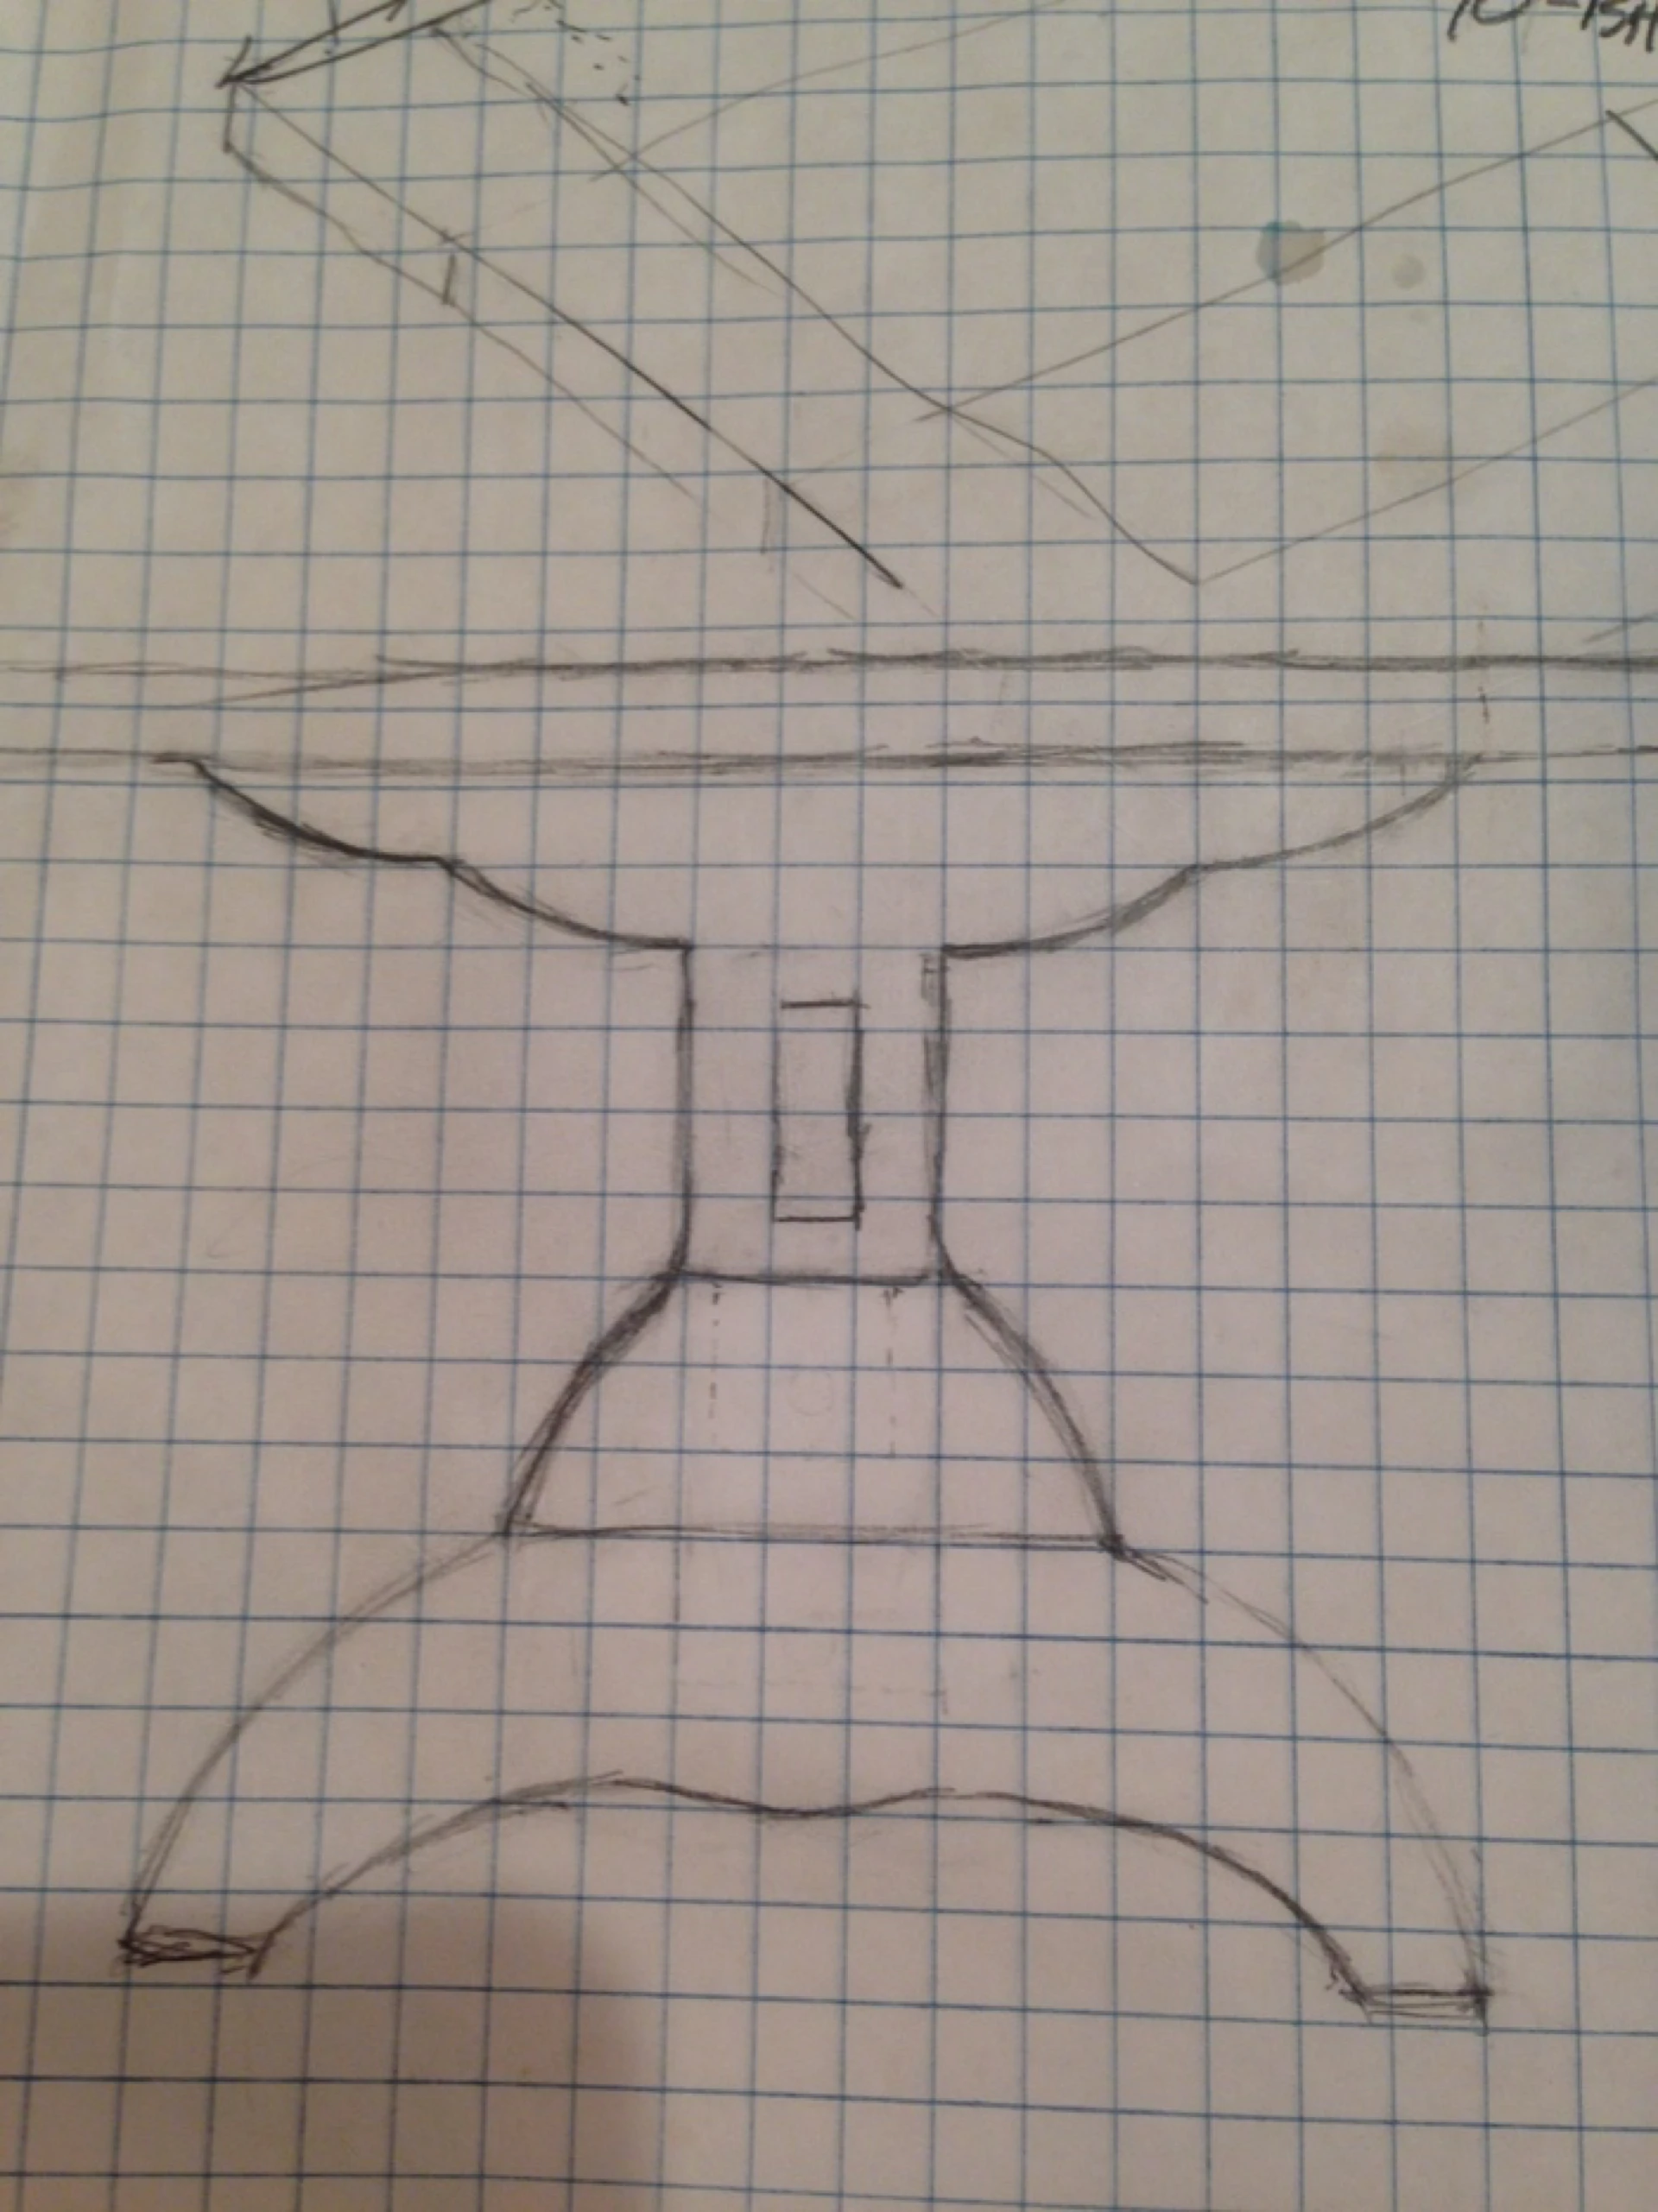
Rough sketch
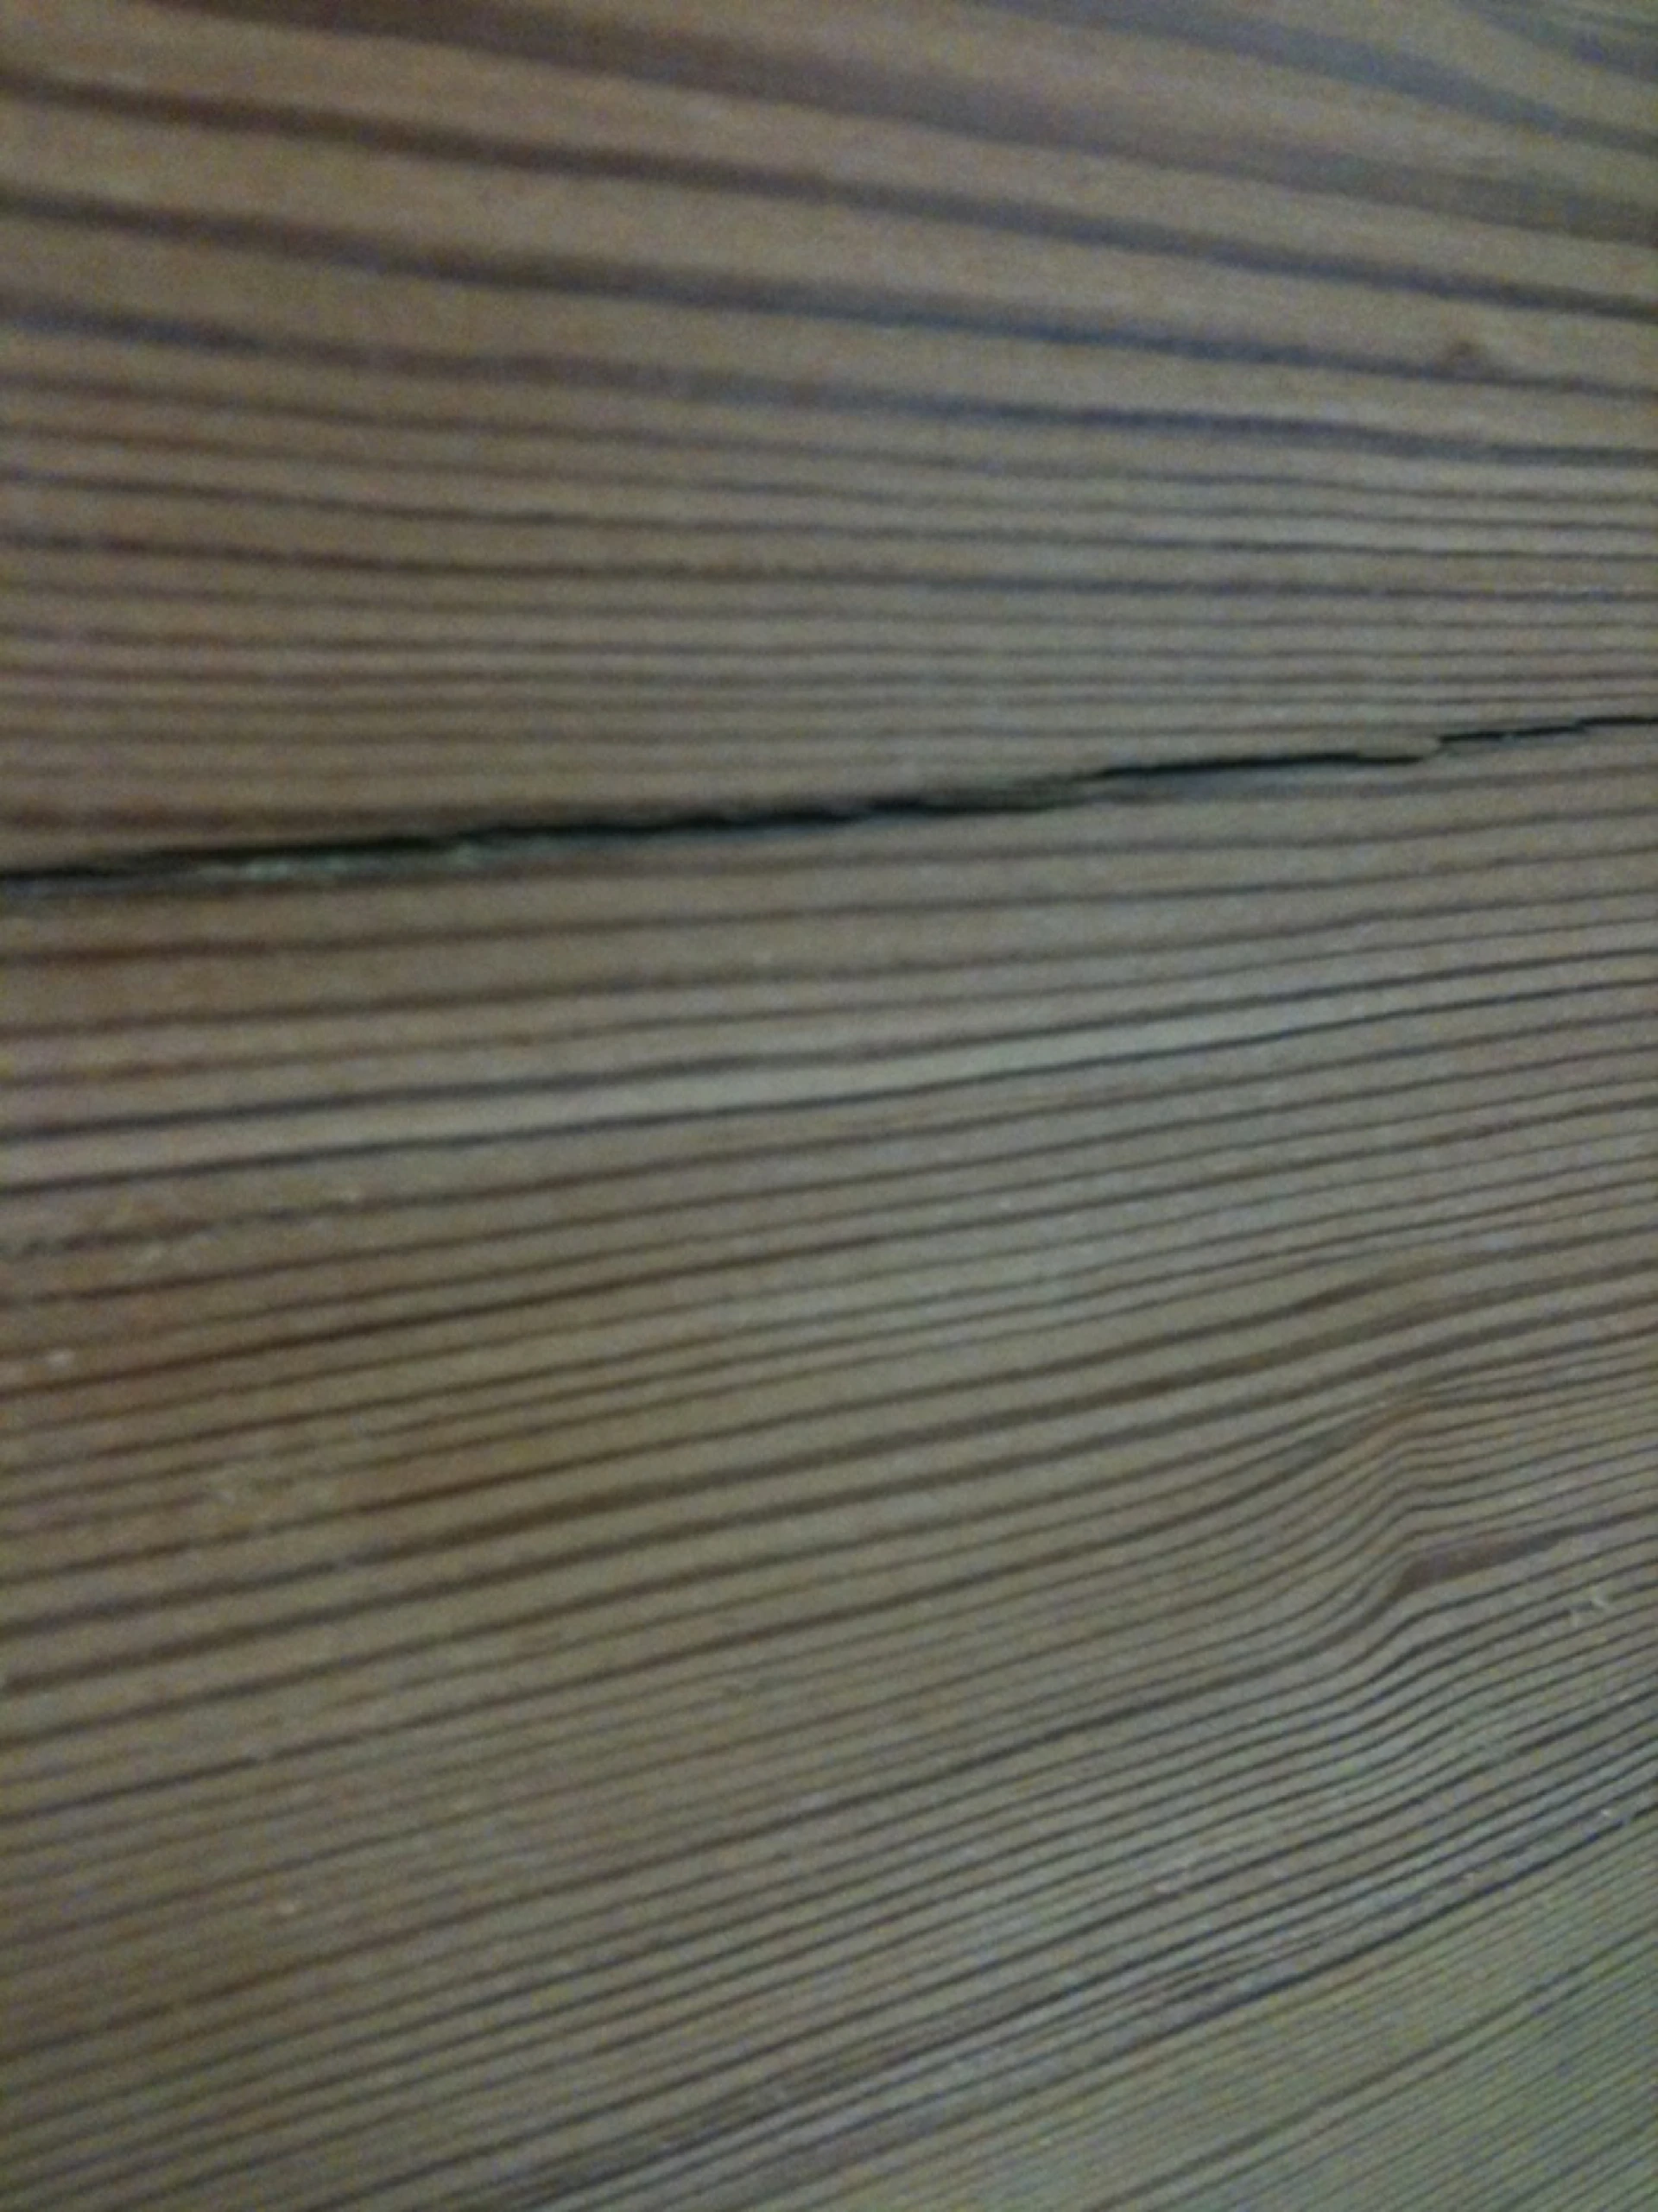
You can't simply make a run down to the lumberyard to pick up some more matching wood to make up for miscalculations, so it is necessary to be extra mindful of every detail, “measuring twice and cutting once”. Sadly, due to the way the joists were milled from the trees, all the boards I had designated for the tabletop had significant splits running down their lengths and could not be used in their original widths. I crosscut the boards a little more than 6 feet long, ripped (safely using my band saw) each board lengthwise through those splits, then jointed and table sawed them true. I ended up with 8 boards to glue up for the top, instead of 4. I opted to use Titebond III, as I happened to have a fresh supply on hand. It has a long working time and great bonding strength.
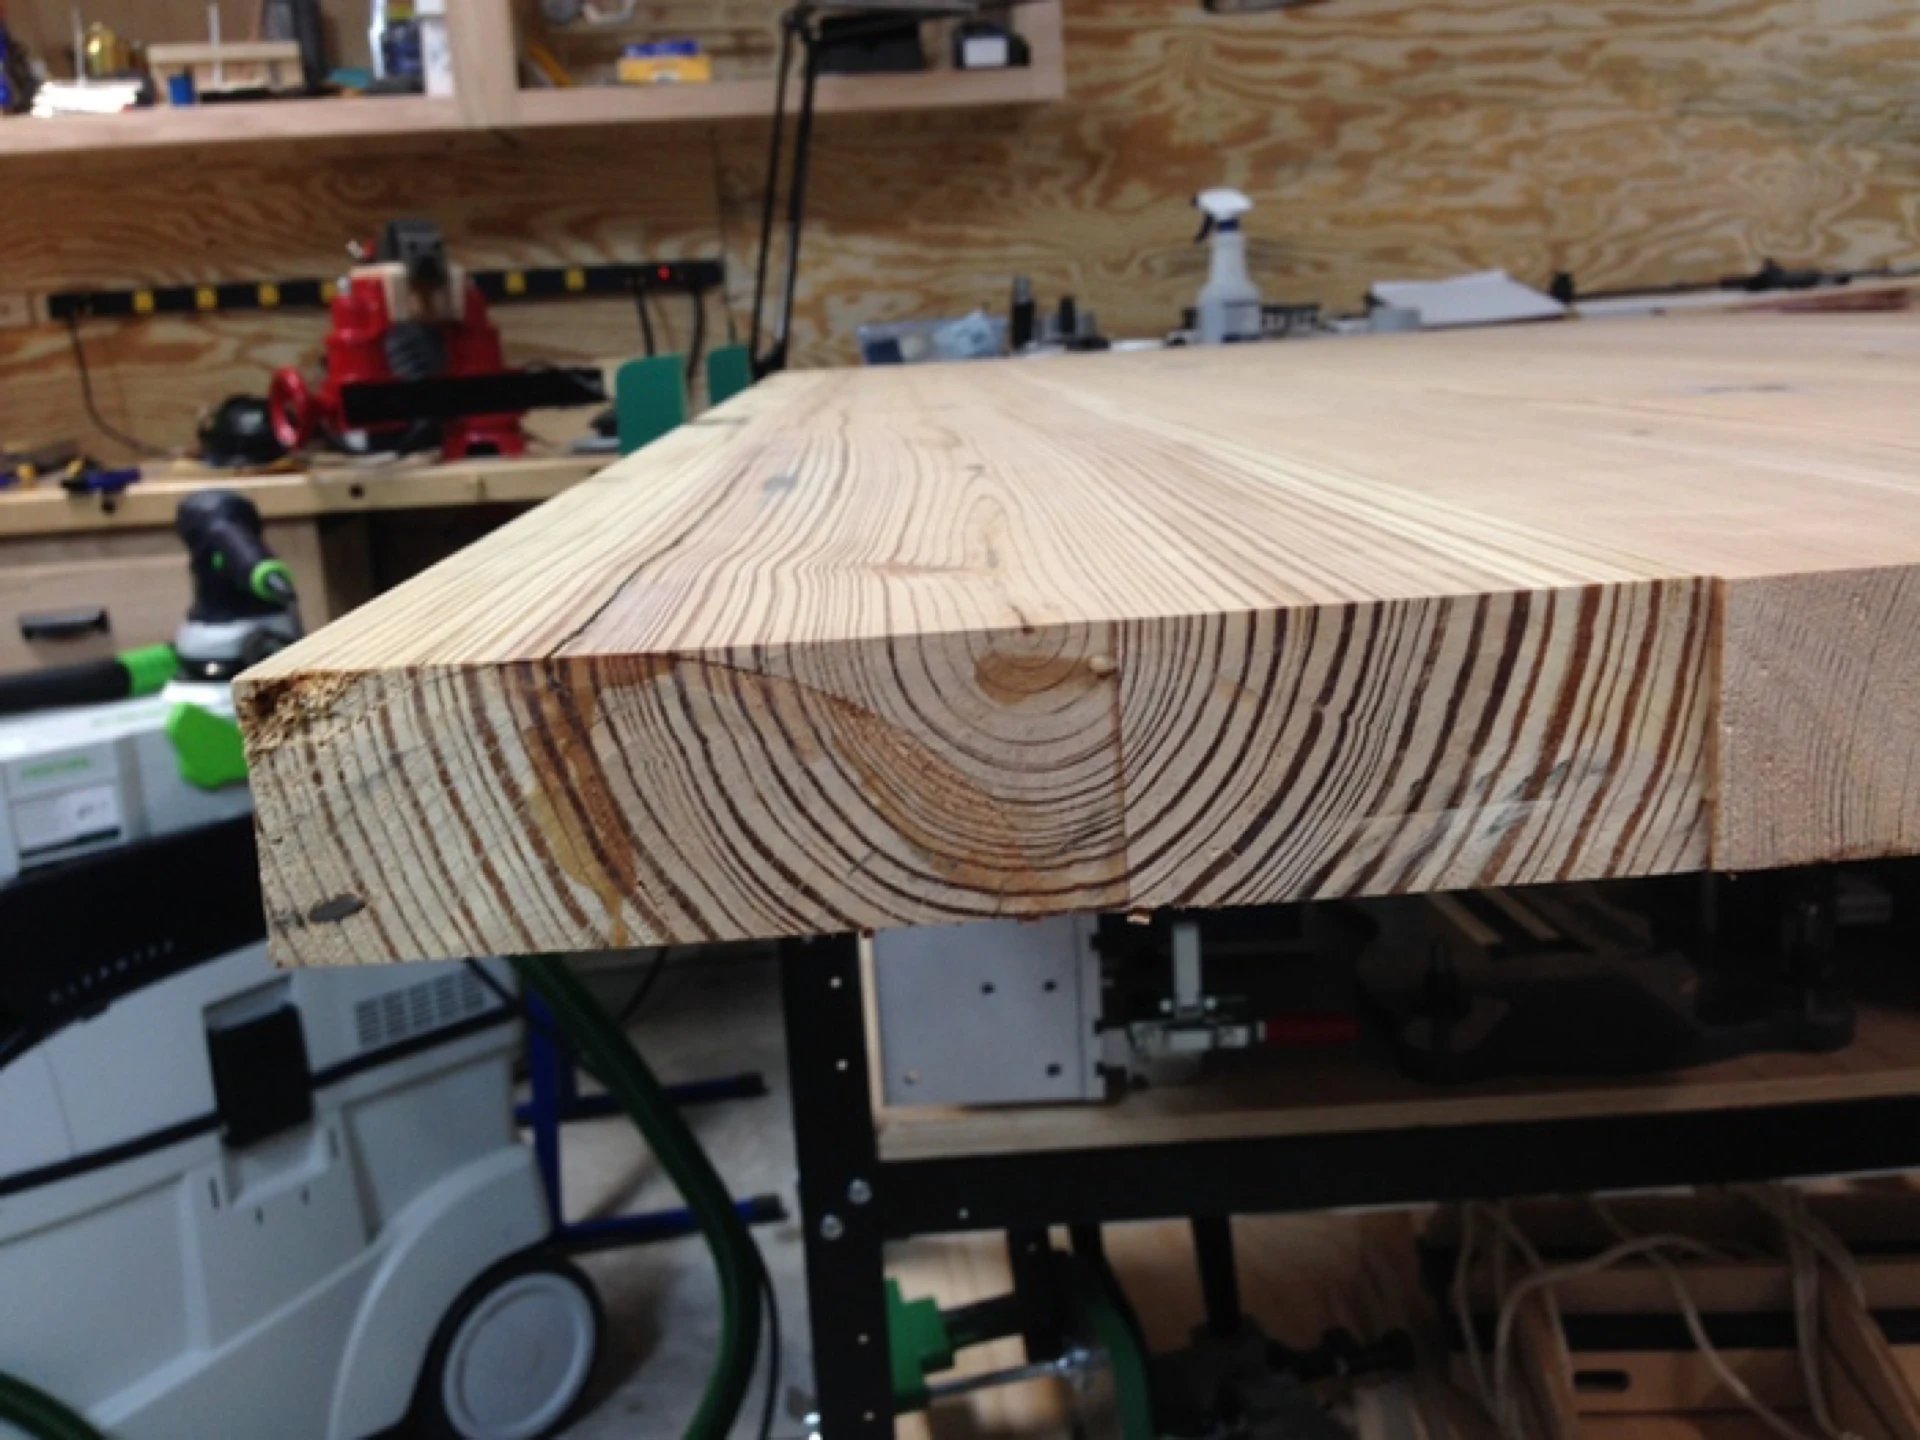
Growth Rings
All 8 boards were paired with their mates (created when the original 4 boards were ripped lengthwise). The 8 boards were then assembled into 3 planks (2 planks made up of 3 of the 8 boards and 1 plank made up of 2 of 8). As none of the 3 sub-assembly planks exceeded 15″ in width, I was able to run them through my planer one last time prior to final glue up, saving me a lot of time with the hand plane.
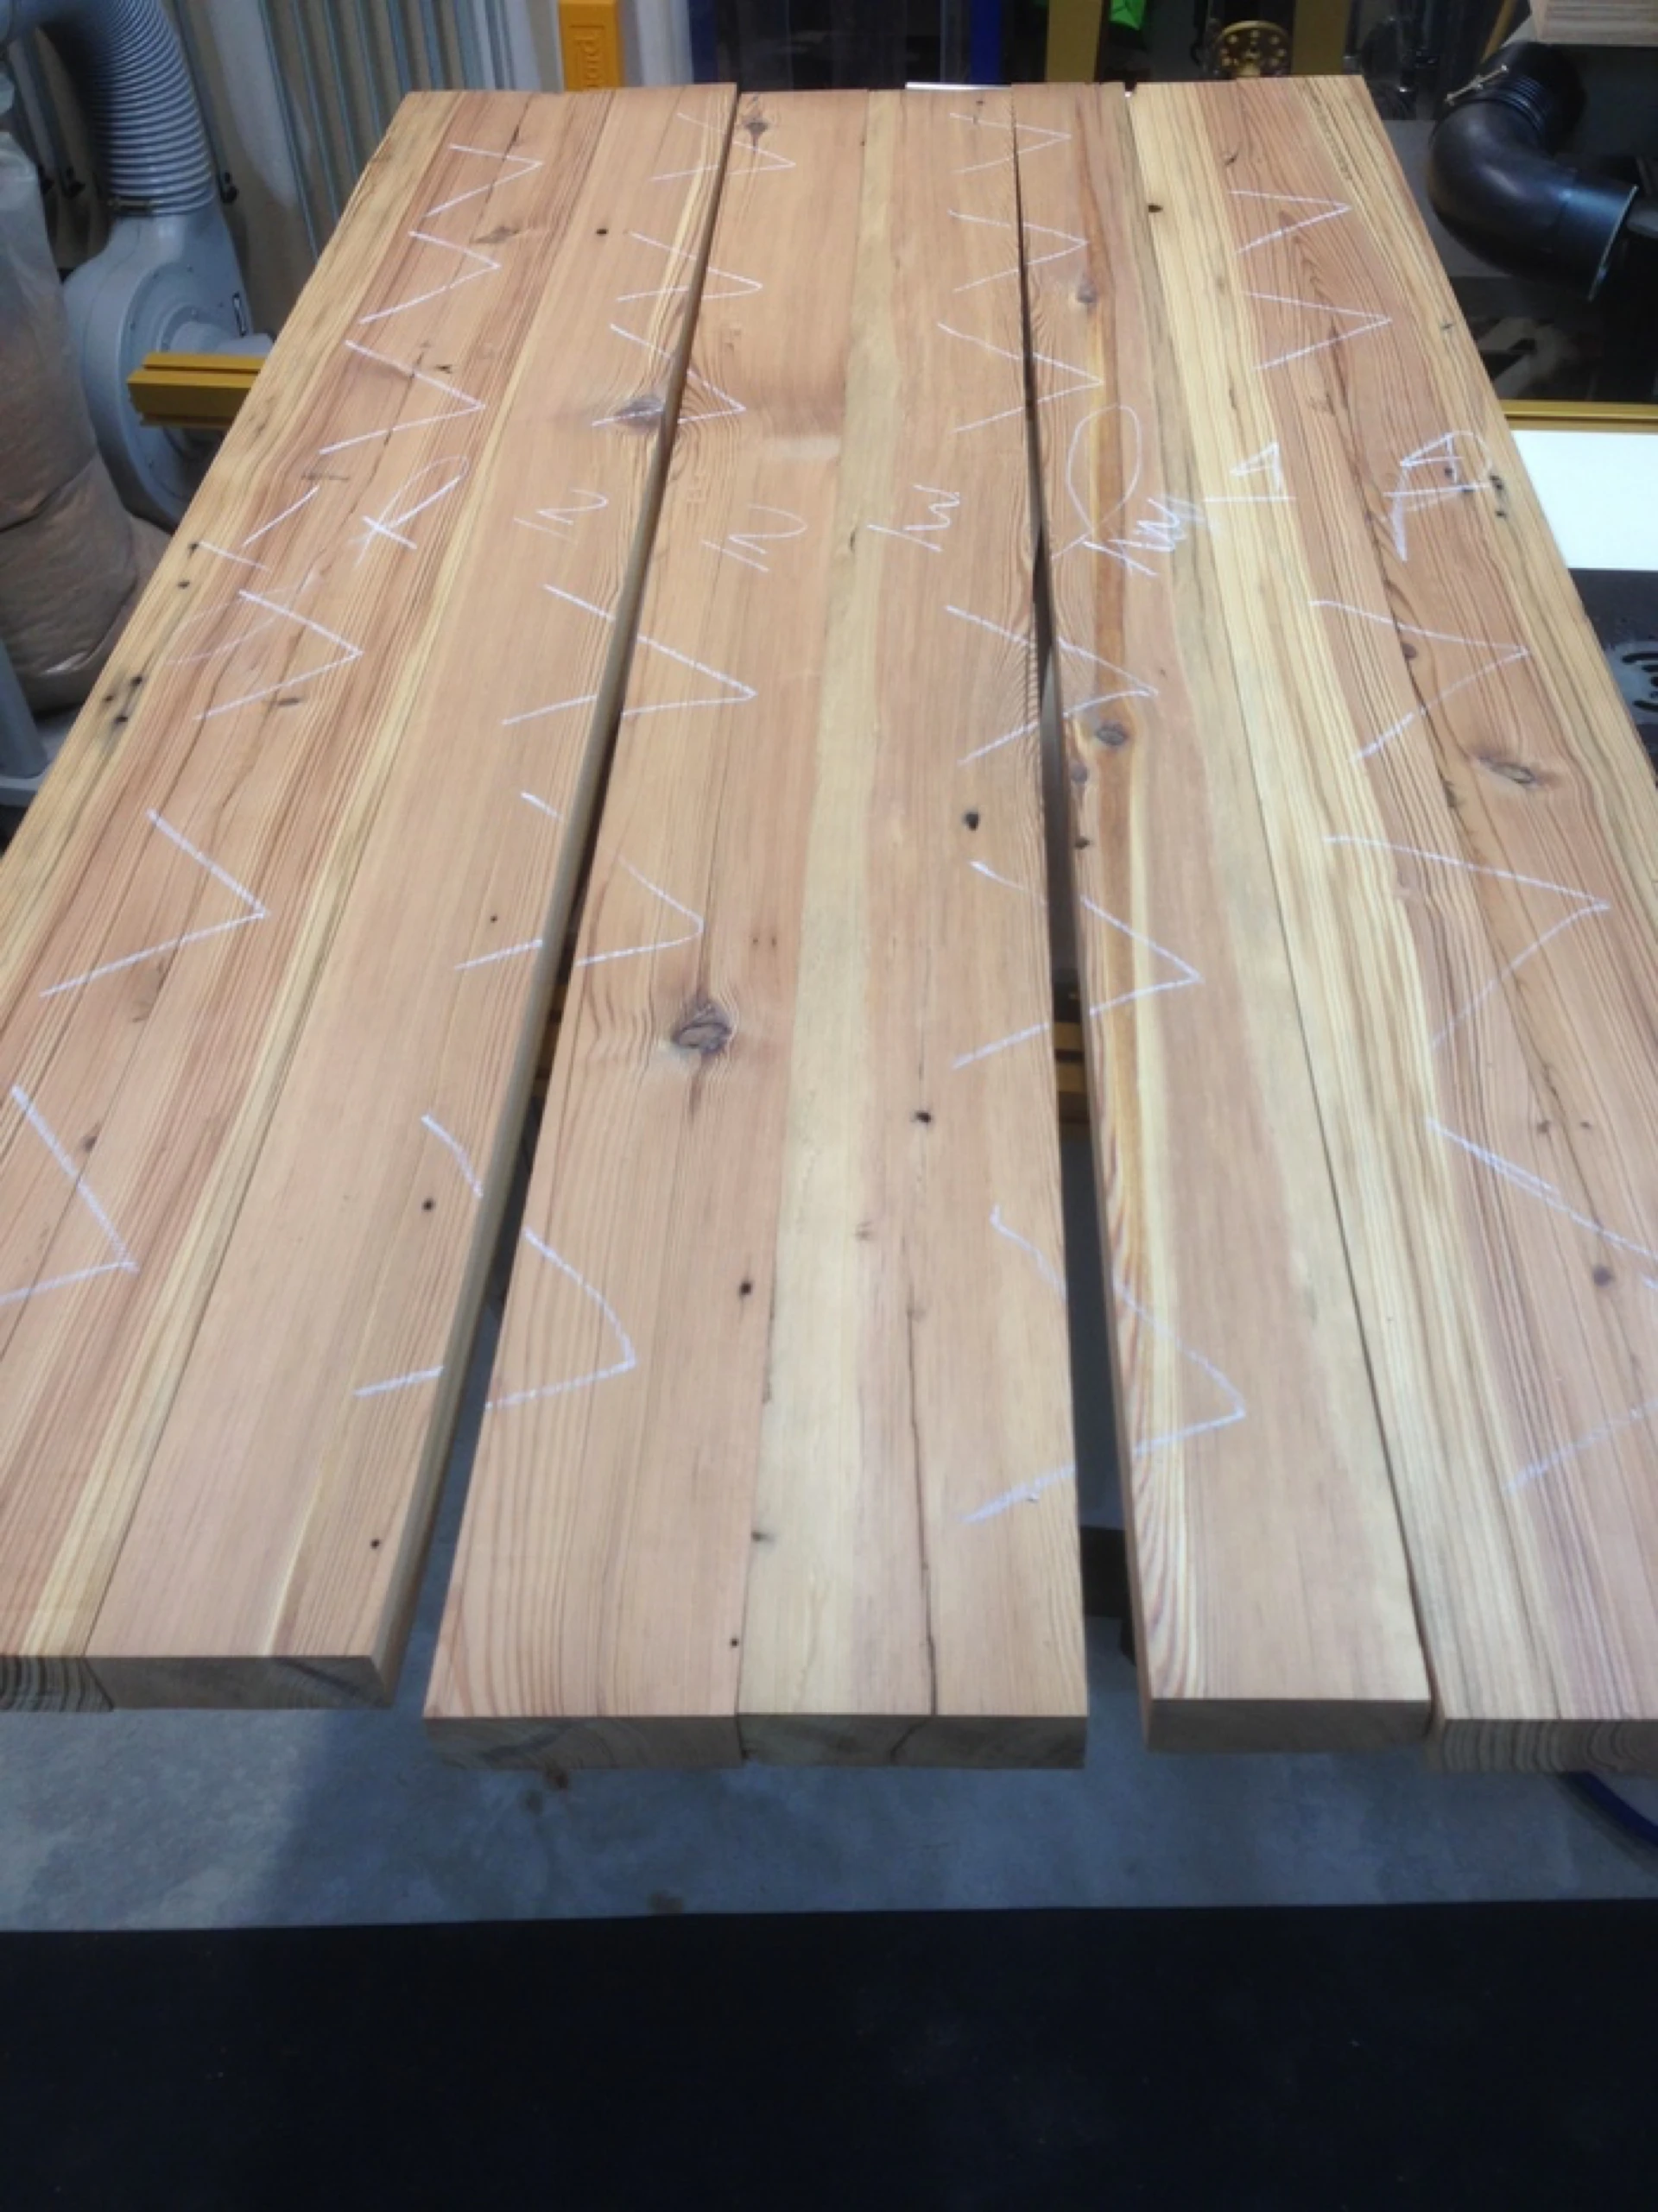
Layout
To assemble all these boards and planks into a tabletop, I used an excellent mortising jig called The Mortise Pal in conjunction with a 1/2″ spiral bit in a plunge router to cut mortises for loose tenon joinery. (Note: sadly, the company that manufactured the jig is no longer in business). Dowels or even biscuits would have been sufficient, as the purpose of the joinery was to help me position the long boards during glue up, to prevent them from shifting during clamping. I am a fan of loose tenon joinery, and this jig is a great balance between heavy-duty and portable, perfect for the task at hand.
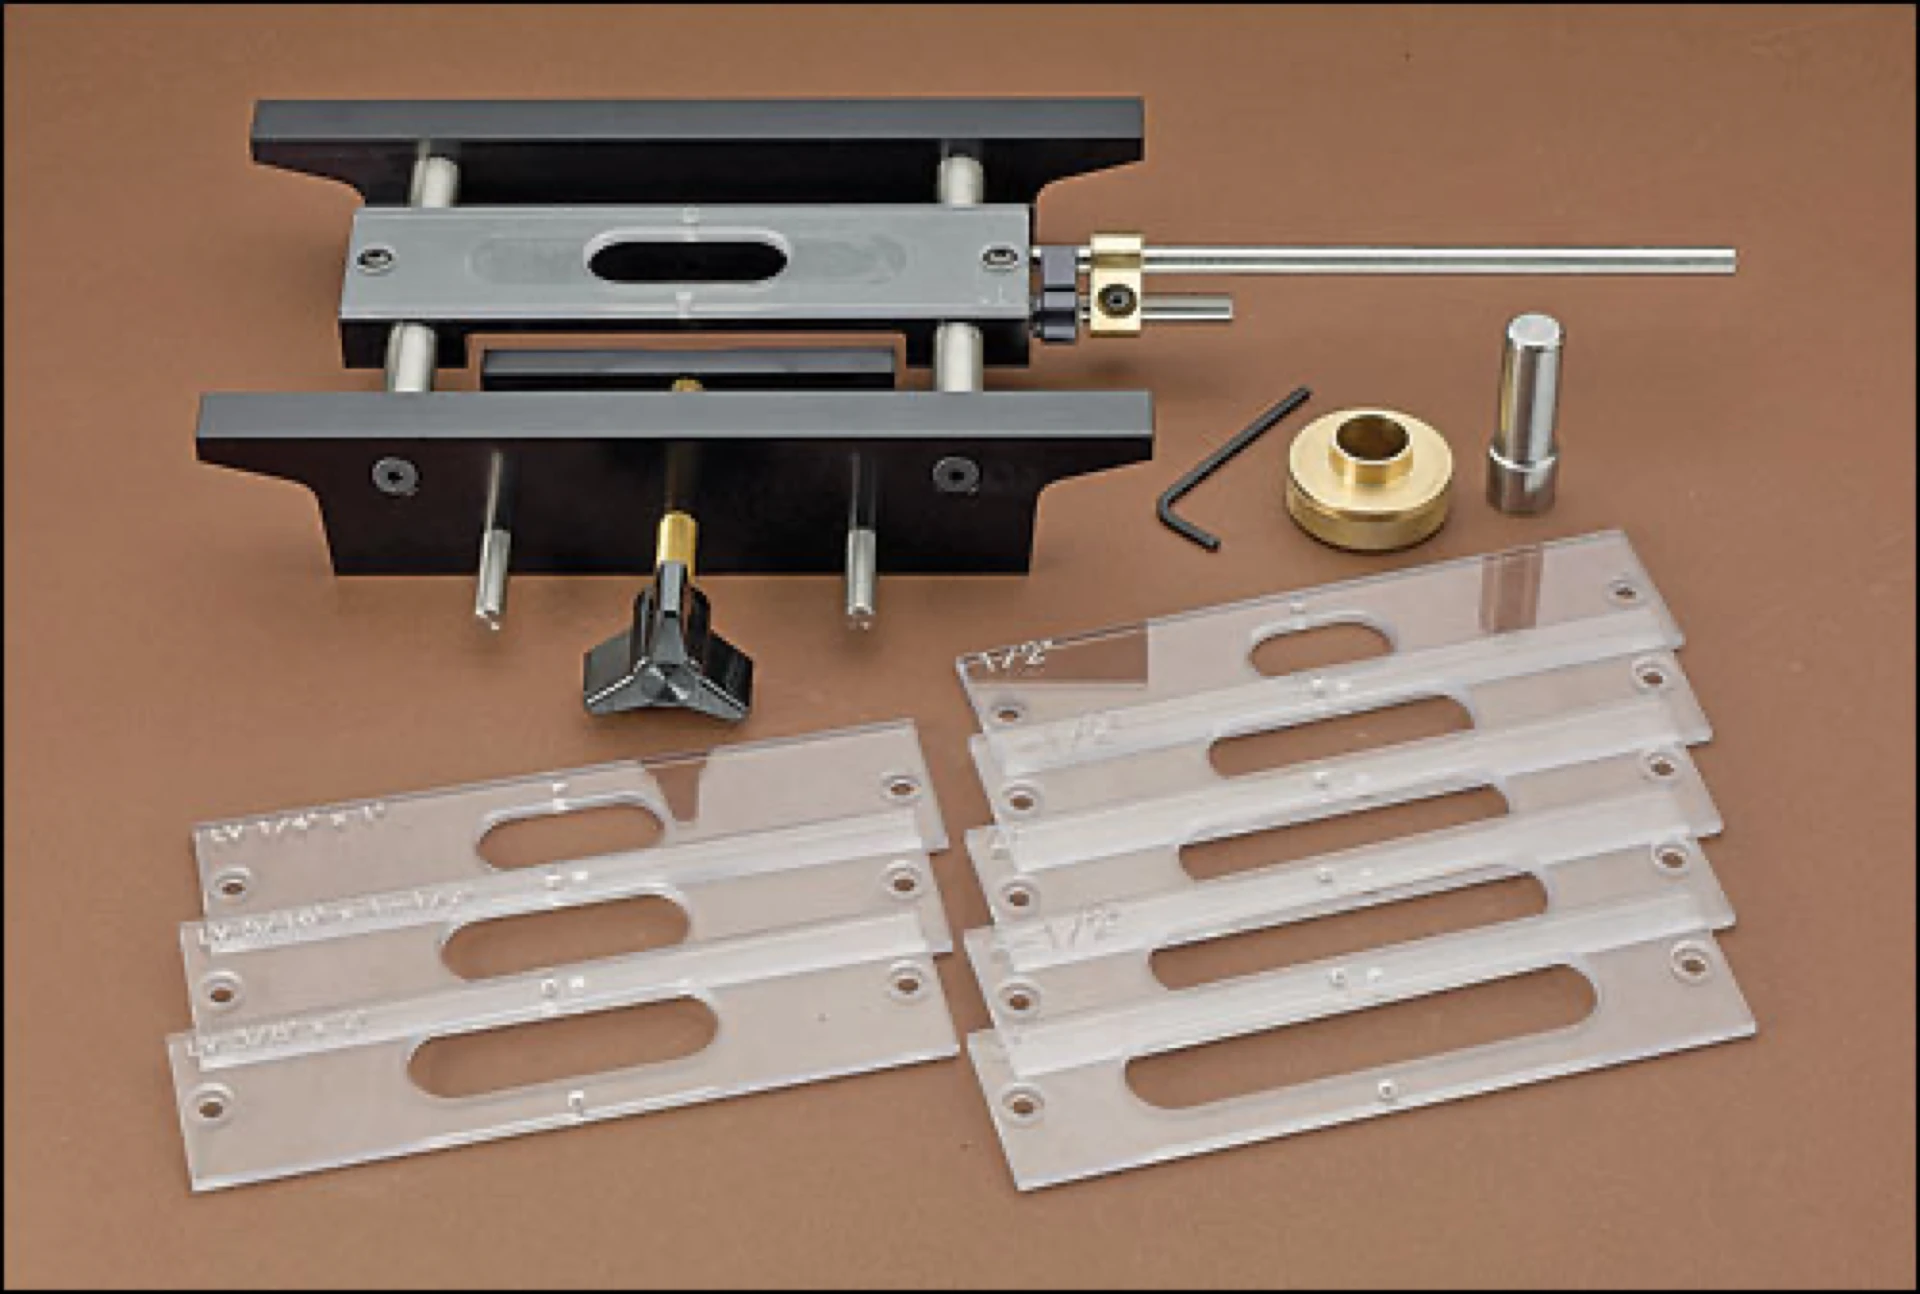
Mortise Pal
For each sub-assembly (consisting of three boards) I painted the edge of each board to be joined with glue, being careful to include the mortises. The tenons received a coat of glue and were quickly pressed into the mortises along the edge of one board. The corresponding board was quickly fitted, tenon to mortise, and I used clamps to draw all three boards together. The three sub-assemblies were left to dry overnight.
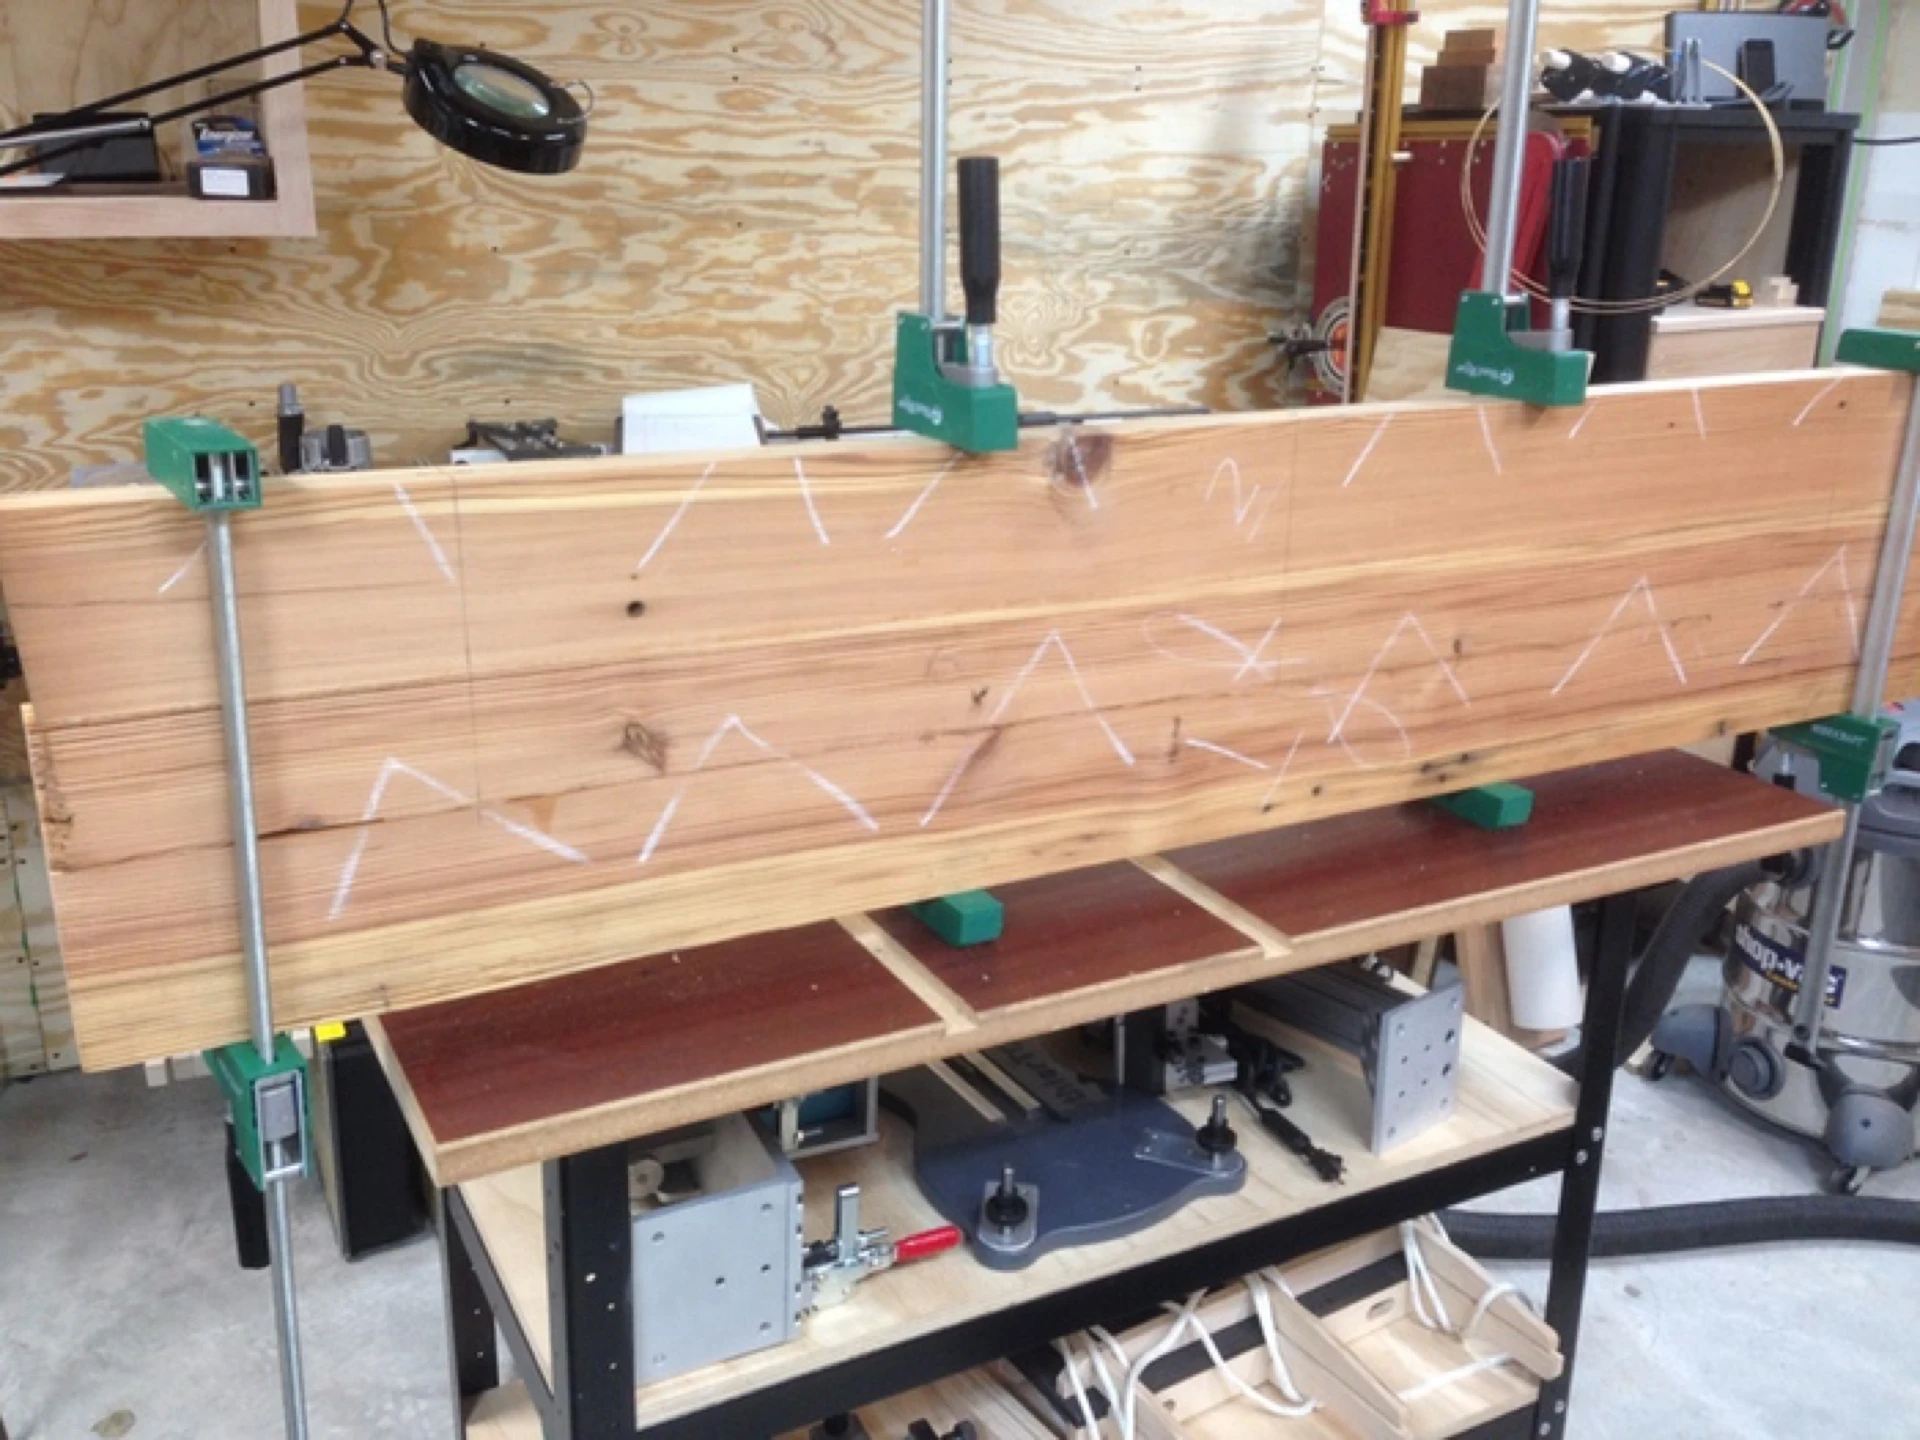
Glue-up and Clamping
The following day I repeated the glue and joinery process on the three sub-assemblies, making one massive tabletop. All glued up, this table weighs nearly as much as I do. Seriously!
All glued together
My design called for Breadboard ends which provides for a pleasing look and to adds some protection for the end grain.
A mortise in the cross grain board fits snugly onto a tenon in the long grain board (tabletop, in my case) and is held in place by pins or dowels, one in the relative center and one or more extending toward the edges of the top (depending upon it’s width). To accommodate for seasonal variances in width as the the wood expands and contracts perpendicular to the grain direction, only the dowel in the center is glued. Typically, the extant dowel holes are widened, or slotted, in the direction of the wood movement to prevent splitting. There are a few steps involved in order to achieve this. The breadboard ends are mounted and clamped tightly in place, and the dowel holes are drilled. The breadboard ends are then carefully removed (at least, you hope they can be), and the outer holes are widened. Care must be taken to only re-dimension the holes along the cross grain of the tenon, for extending the hole along the vertical grain will allow for a gap in the seam between the breadboard end and the tabletop. I employ a slight variation to this approach: instead of reaming / widening / slotting the holes, I leave them round and reshape the dowels. This method requires accurate orientation when driving the dowels in place, but the breadboard ends are never removed after their initial installation.
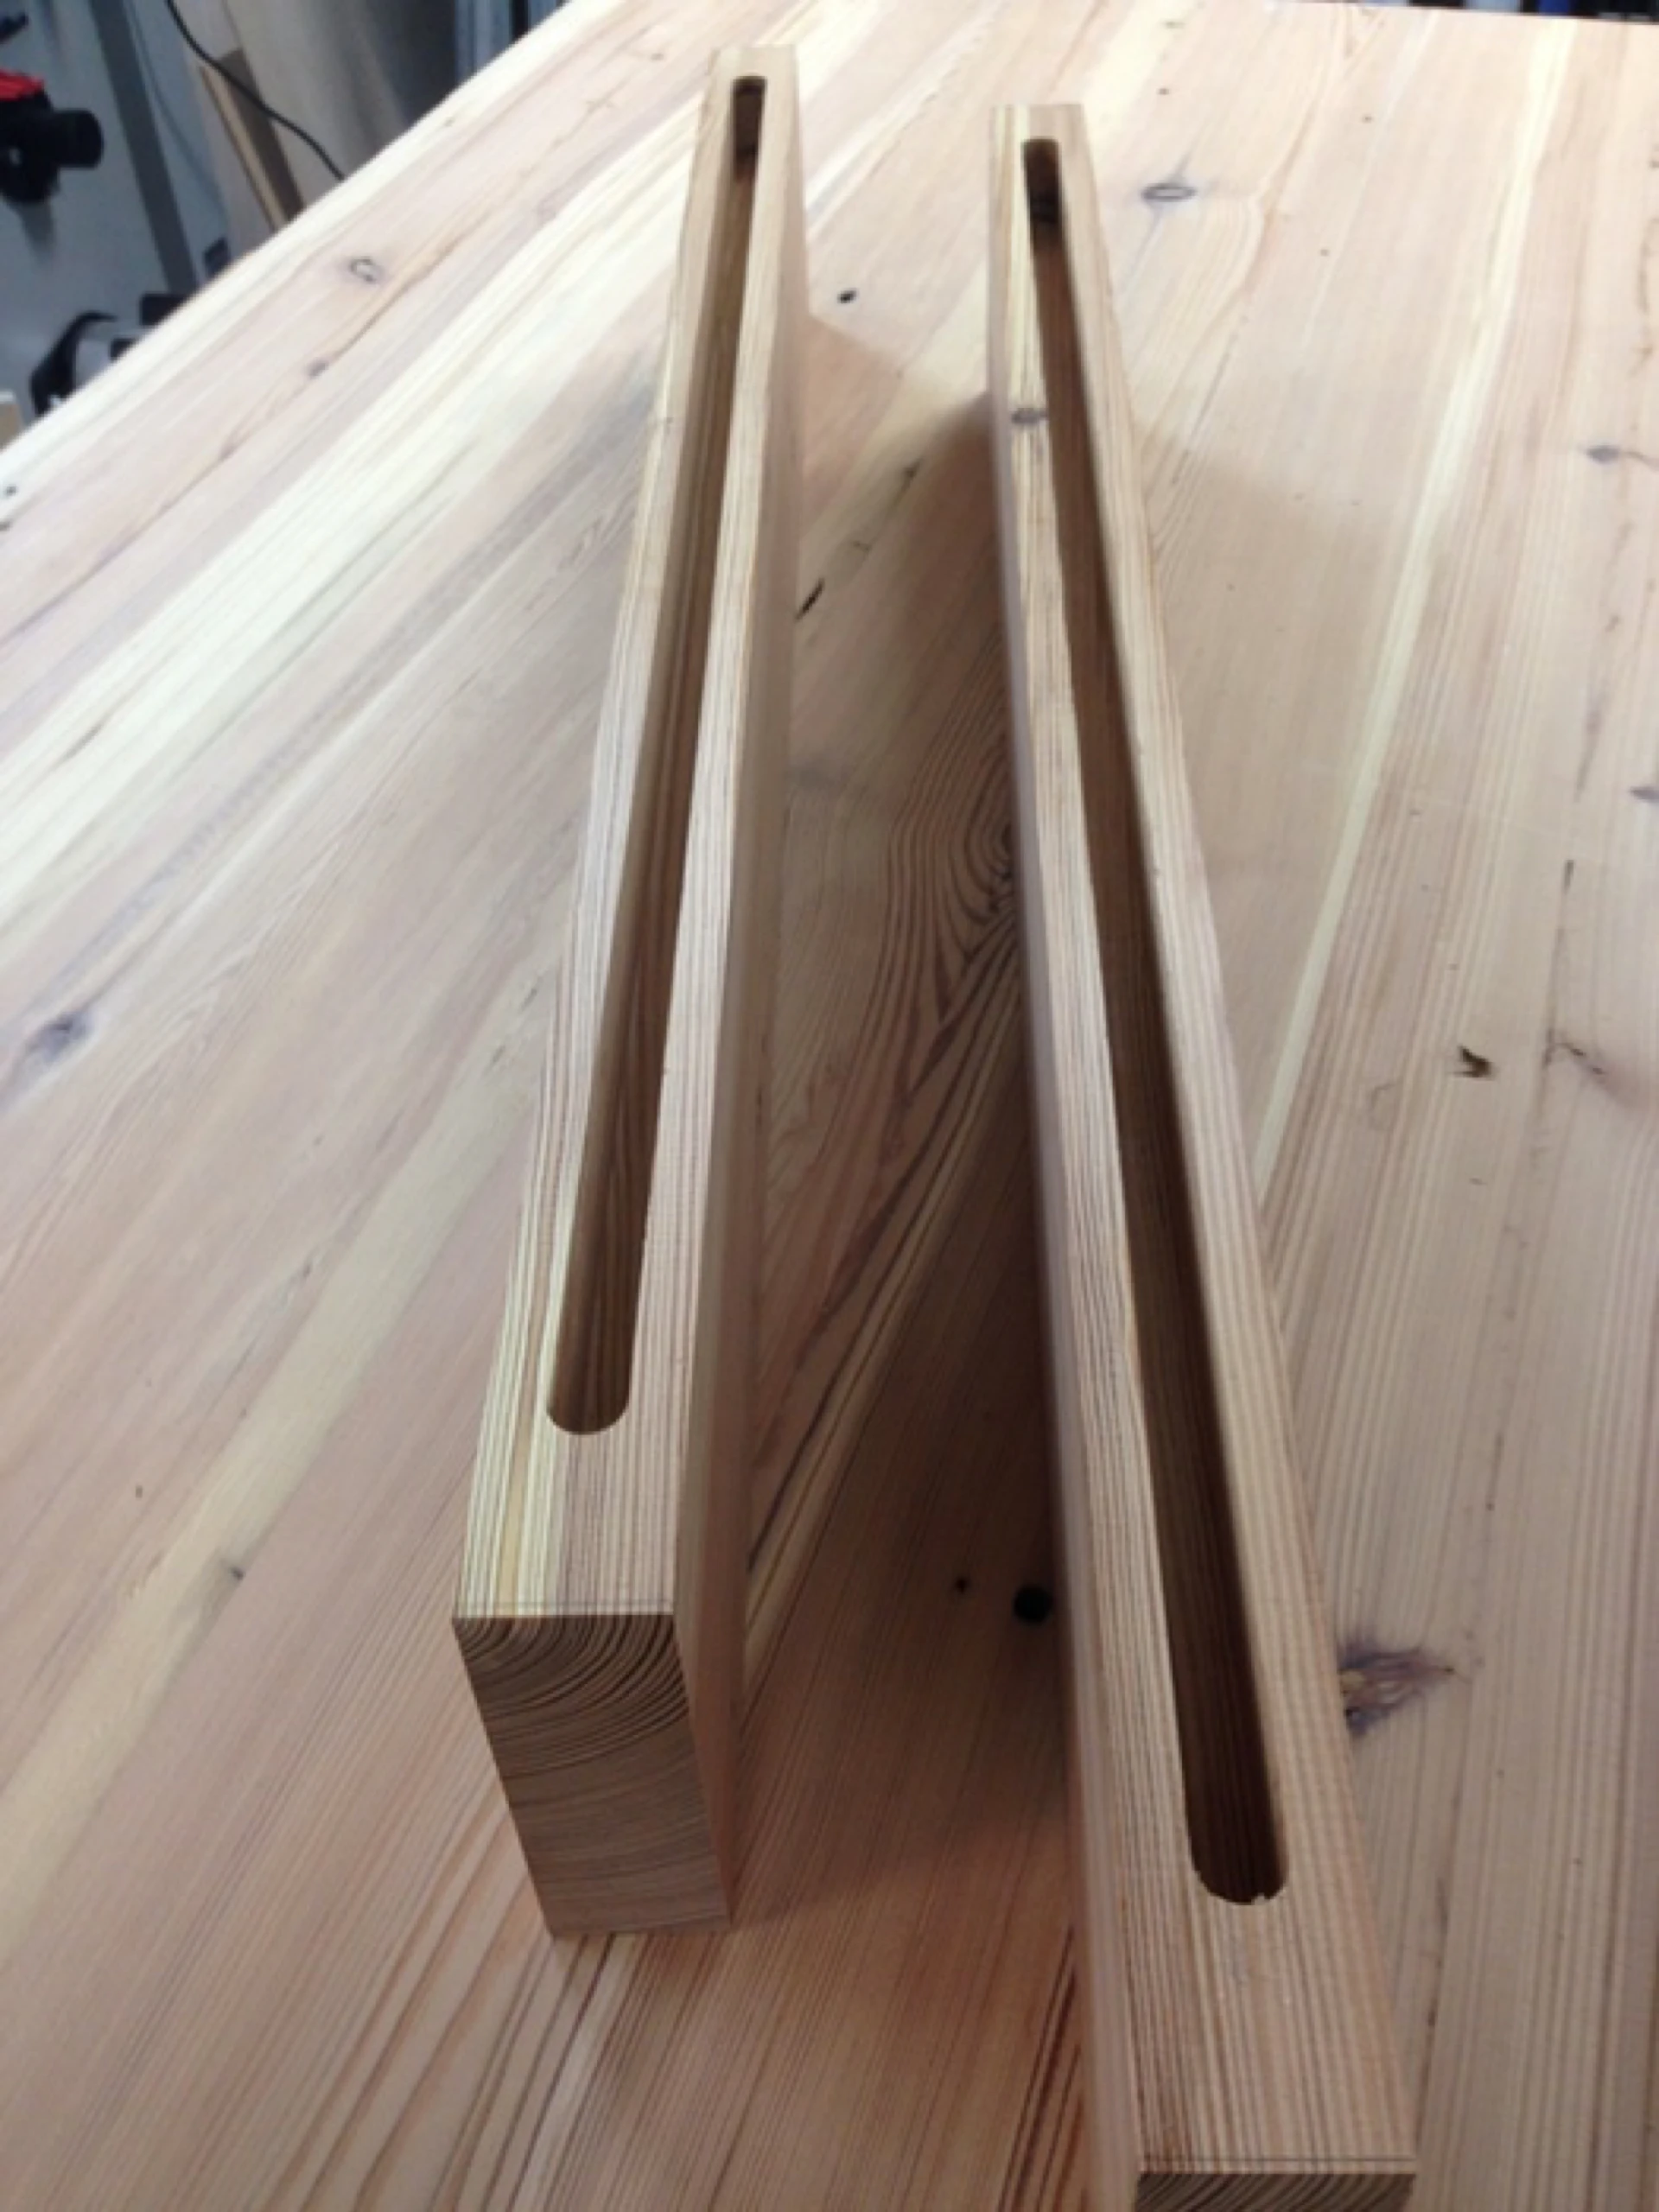
Breadboard ends - Mortise and Tenon
I often use a variation on the mortise and tenon for smaller tops, and that takes the form of a sliding dovetail. The breadboard end need only be secured from sliding off one side or the other (the dovetail prevents it from ever being pulled off), and that would only a require a partial pin that would not even need to be visible. However, a small through pin can be quite distinctive. I use the same simple method for allowing for seasonal movement, where the dowel is slotted, not the table.

Breadboard ends - Sliding Dovetail
As is often the case with projects such as my Pine table, I altered my design prior to completion. Though I may one day fashion the trestle base I had sketched at the beginning, I was inspired to use 3/4″ black iron pipe to complement an emerging industrial retro theme I have going in my home.
Black iron (gas) pipe fittings are readily available in various dimensions, allowing for kit-like construction. A small amount of trial and error gave me the necessary information to calculate the parts required for a properly sized table base. Lengthwise, I wanted to make certain my mount points stayed inside the breadboard ends. Instead of allowing for a chair at each end I chose to lengthen the base to fit an additional chair on each side. Should I ever change my mind regarding the chair positions, it is simply a matter of shortening the long cross member of the base. I cleaned the pipe pieces with acetone before assembly, and hand tightened all the fittings, as I did not want to see the marks from a pipe wrench.
Once assembled, the table top was set on the 4 flanges and secured with wood screws.
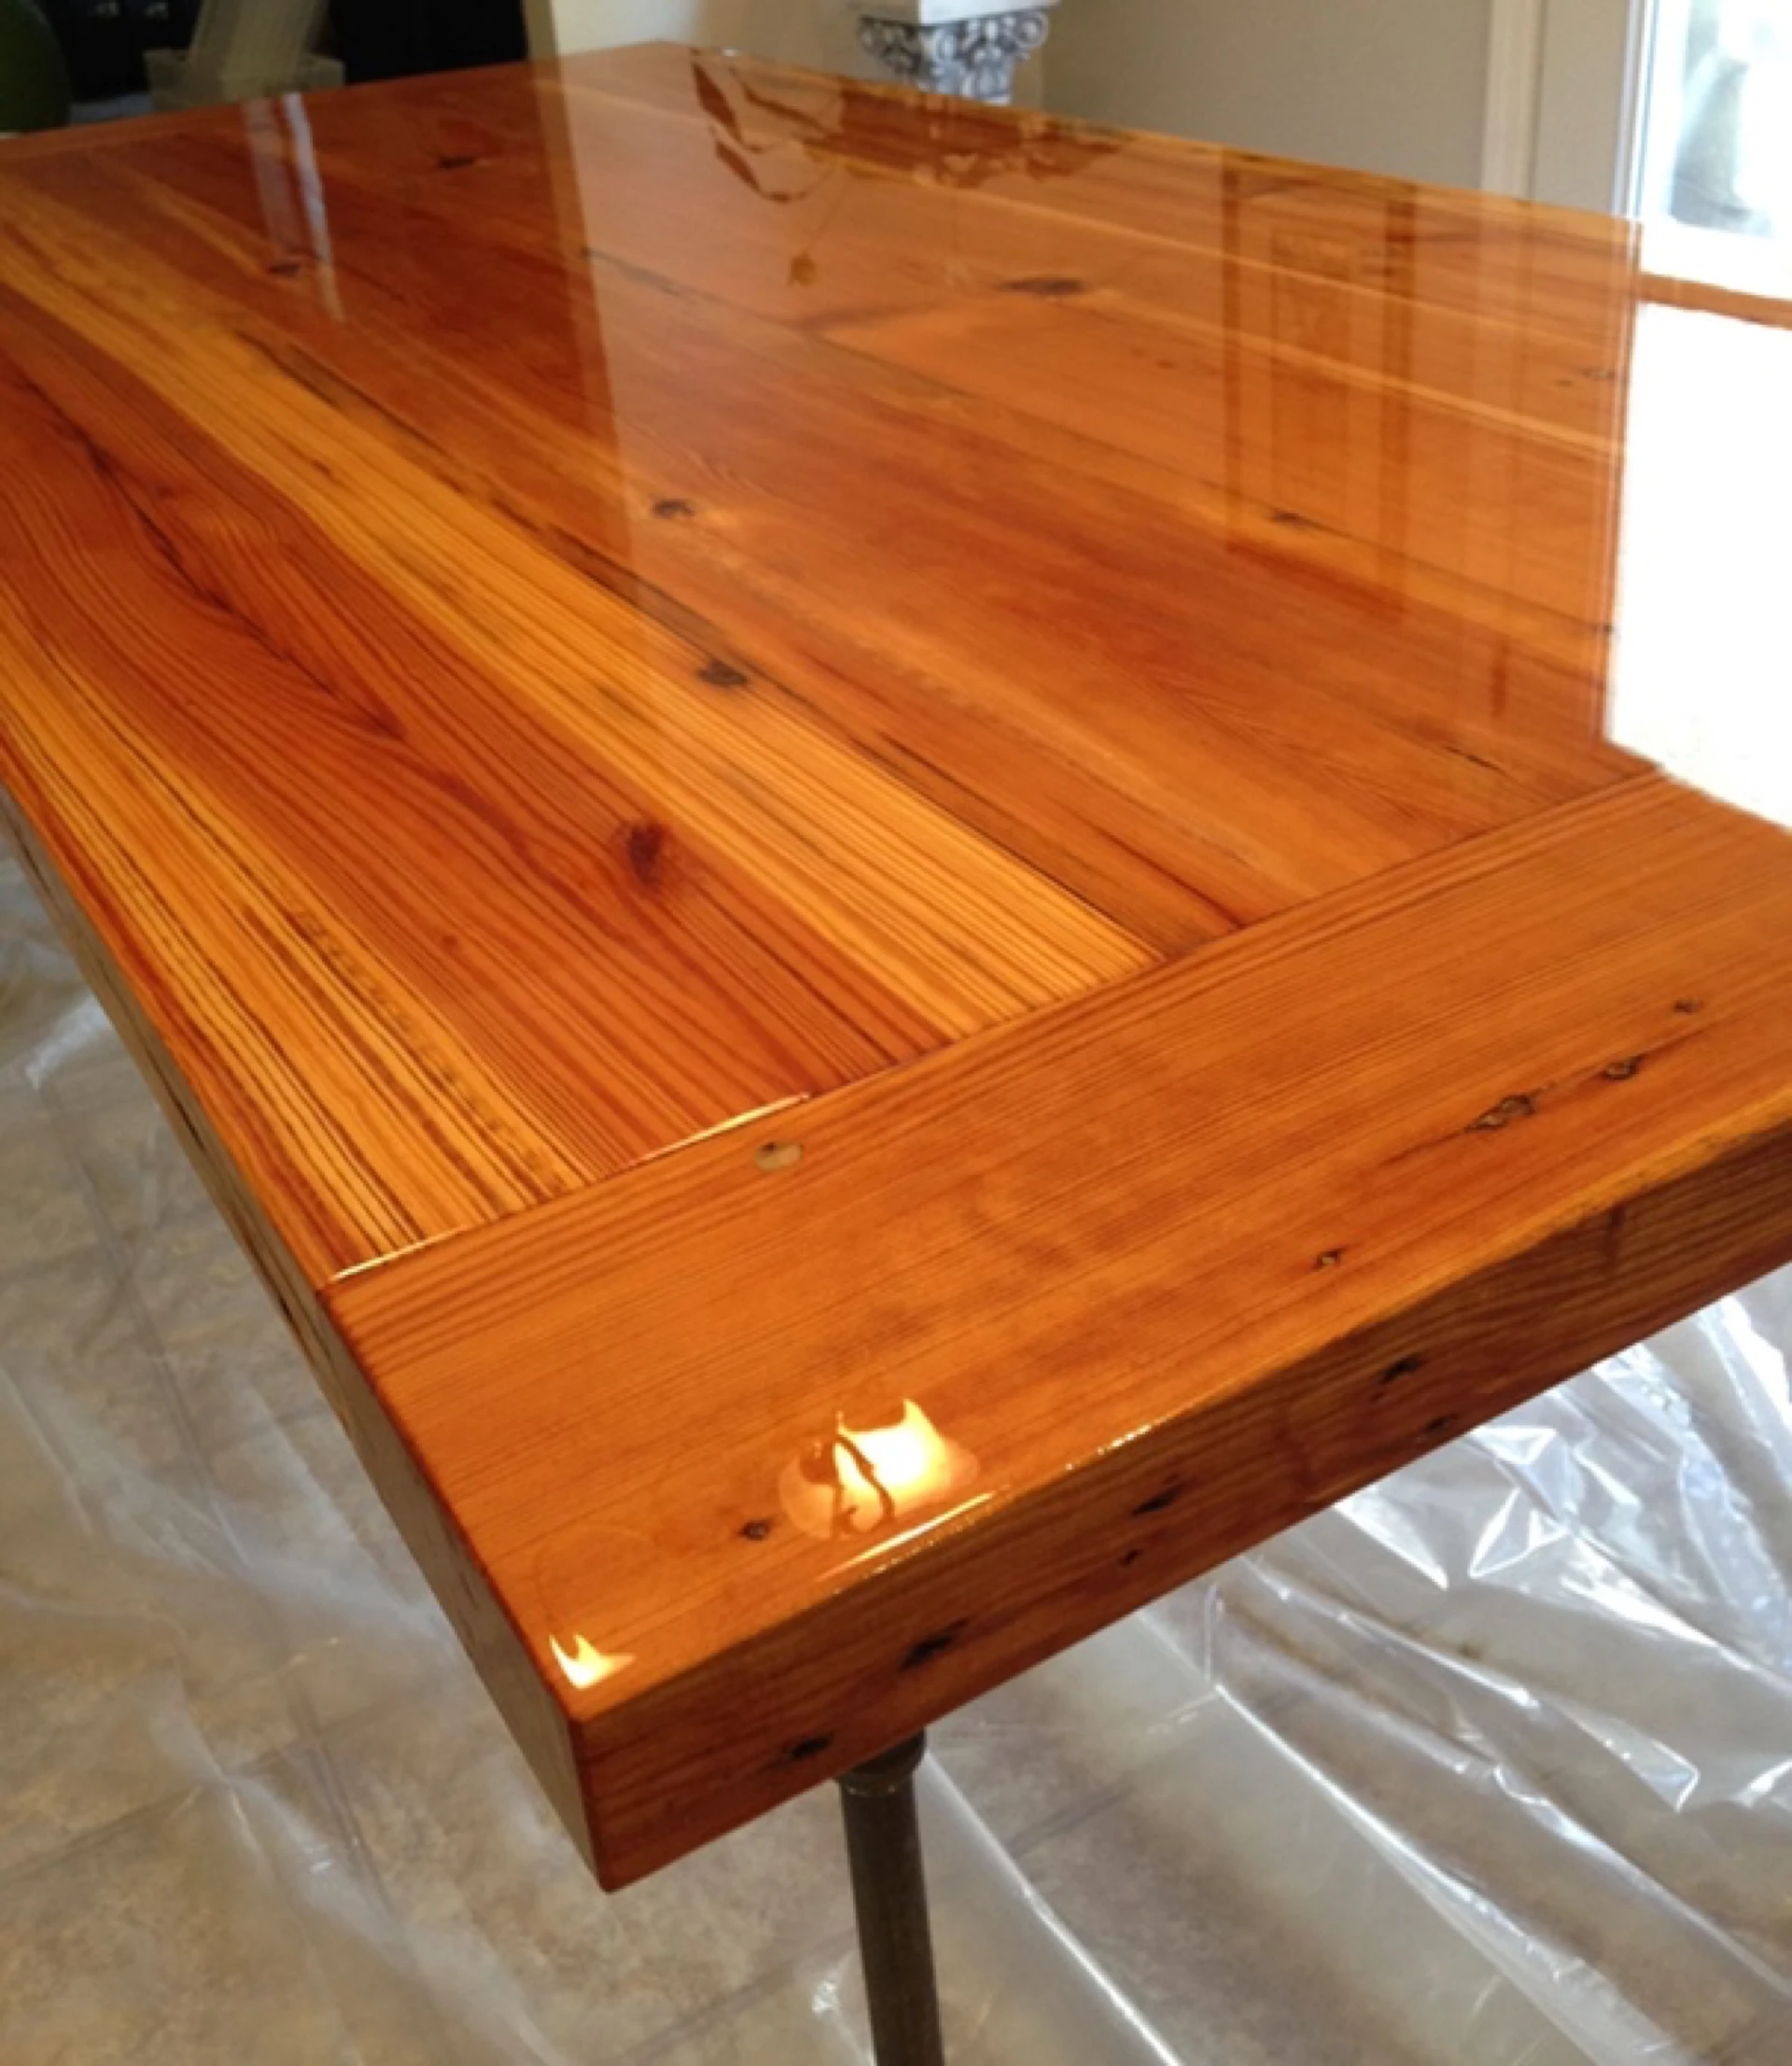
I finished the table top with an easy-to-apply liquid glass epoxy made by System Three, called Mirror Coat. In classic epoxy style, hardener is added to resin and mixed well. The epoxy is poured onto a clean surface, carefully brushed out, and allowed to run off the edges coating the sides. A dropcloth of some sort is a must if you value your floors. The finish is dry to the touch in about 8 hours, and is considered cured in 72 hours. Multiple coats may be applied for a thicker surface. It can be re-coated or sanded with progressively finer papers to handle any imperfections or scratches, nicks and dings. Impressive stuff!
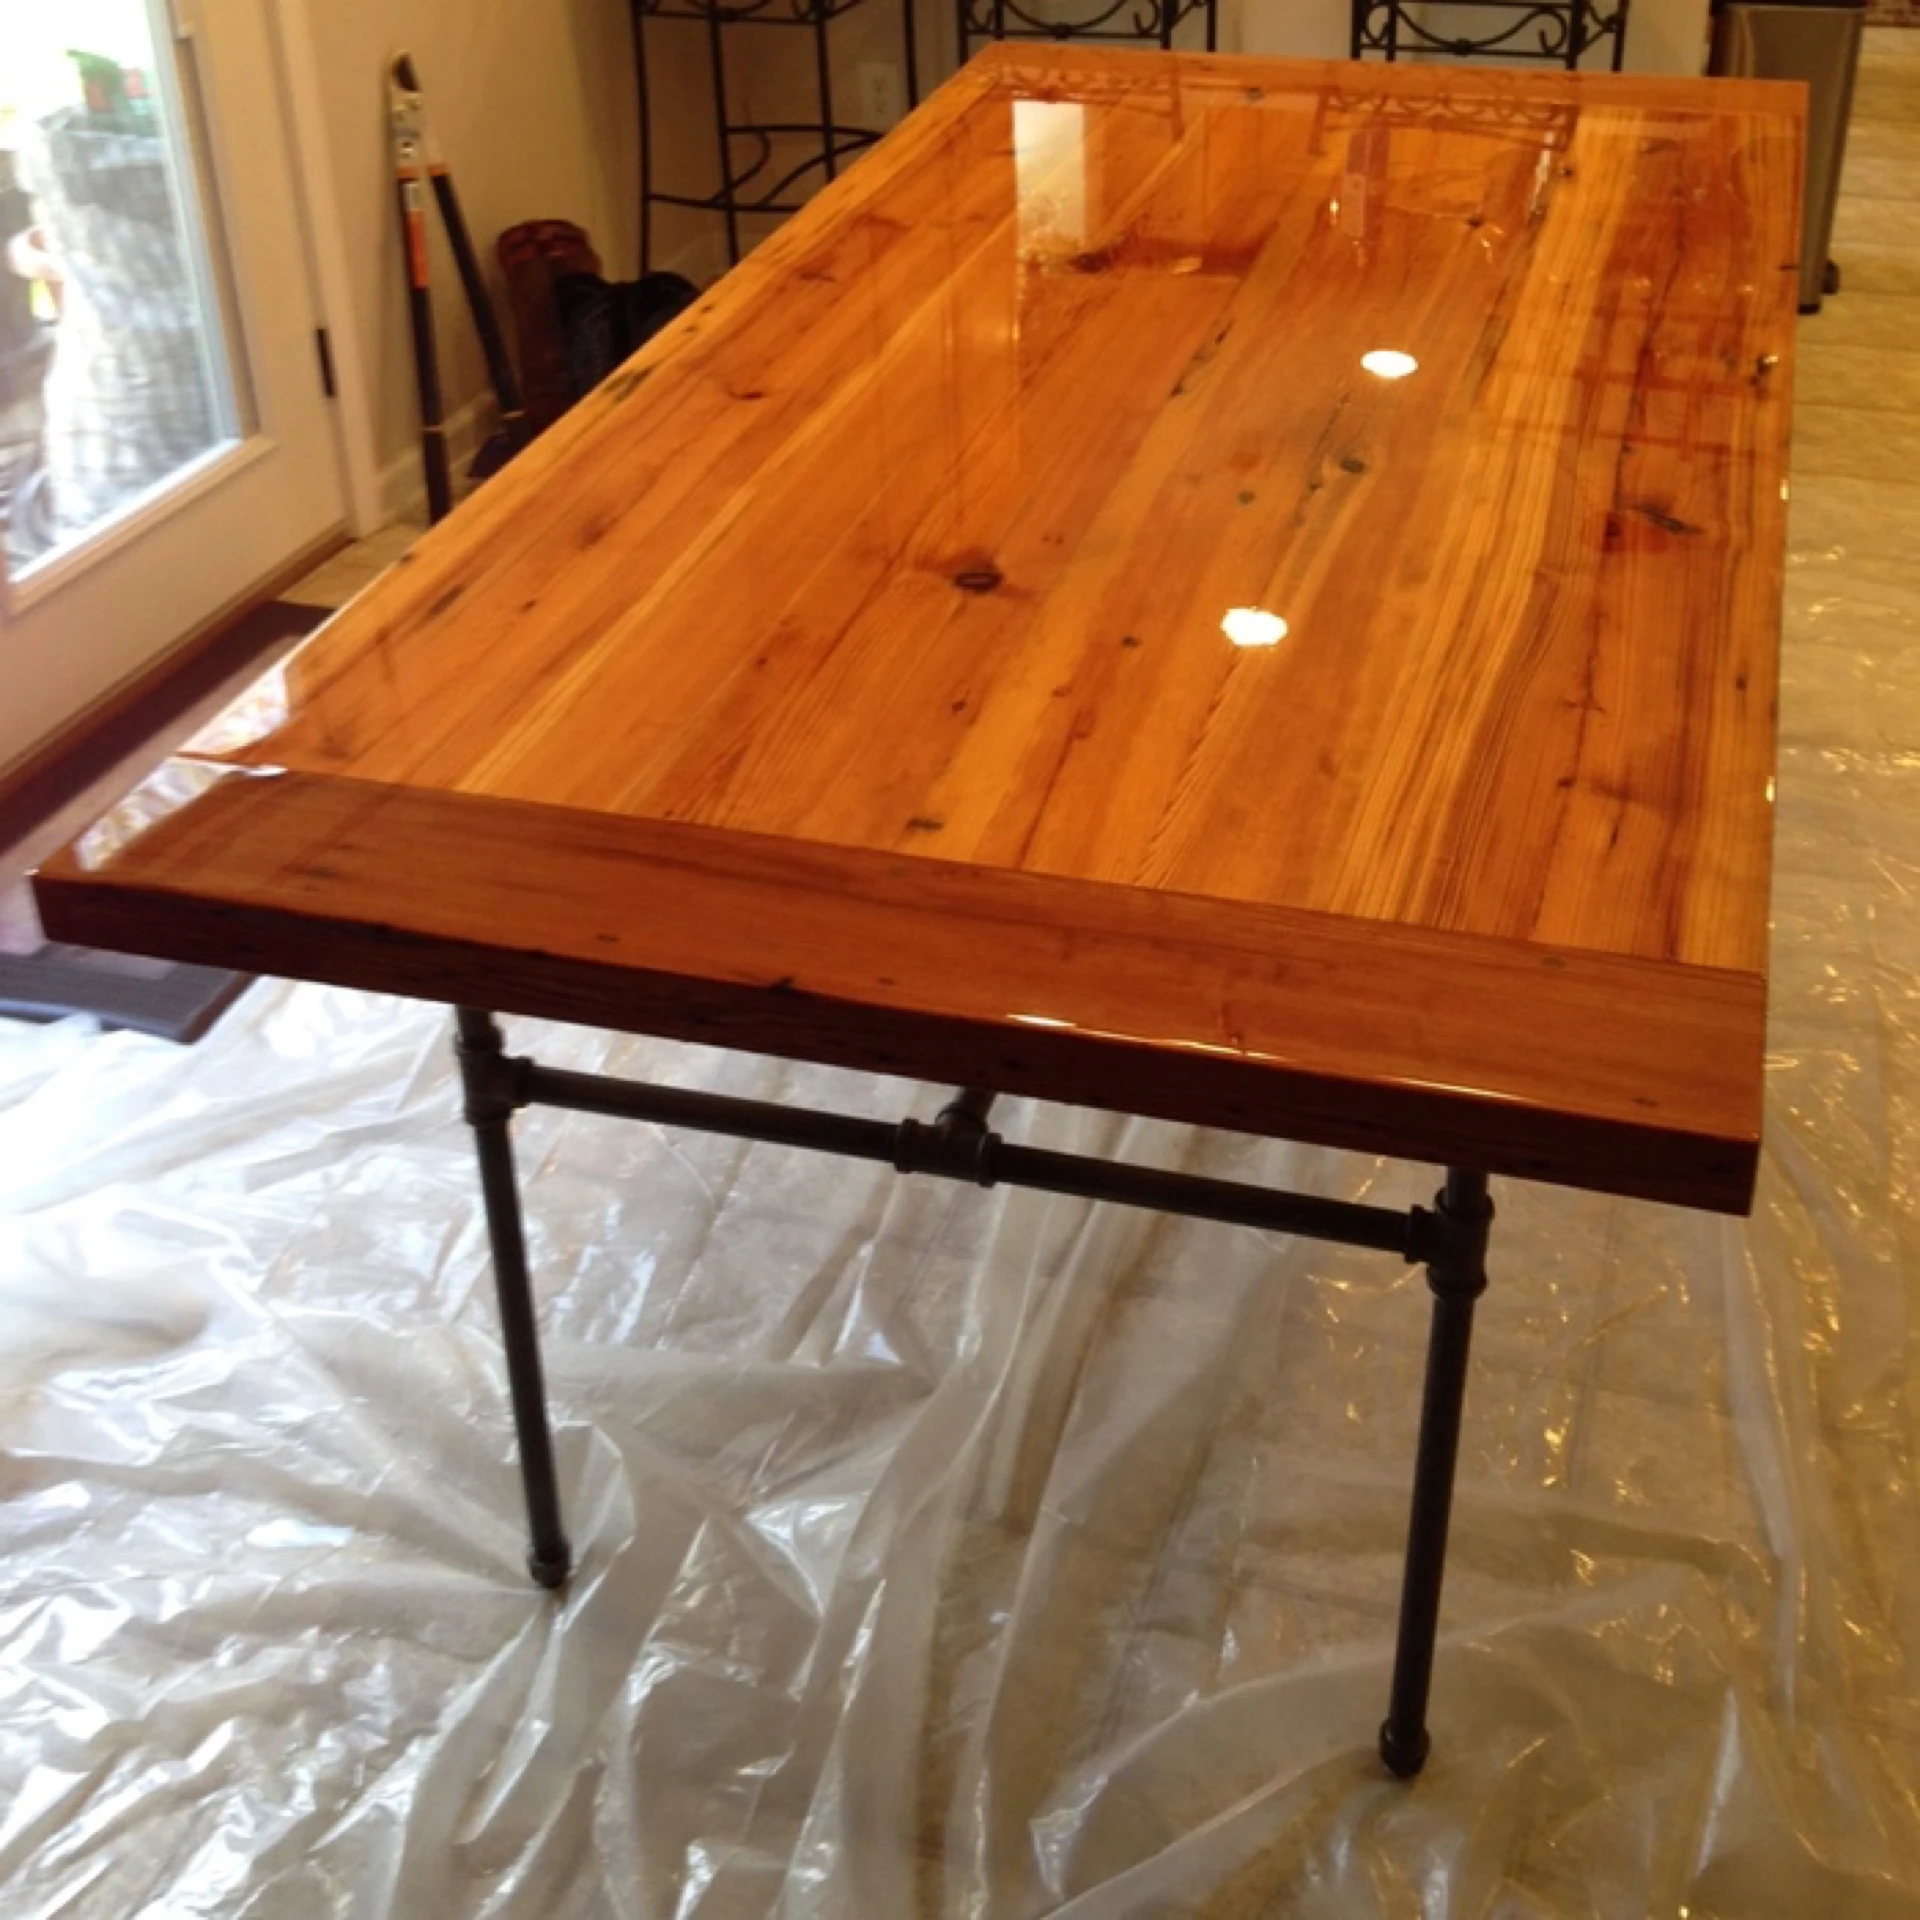
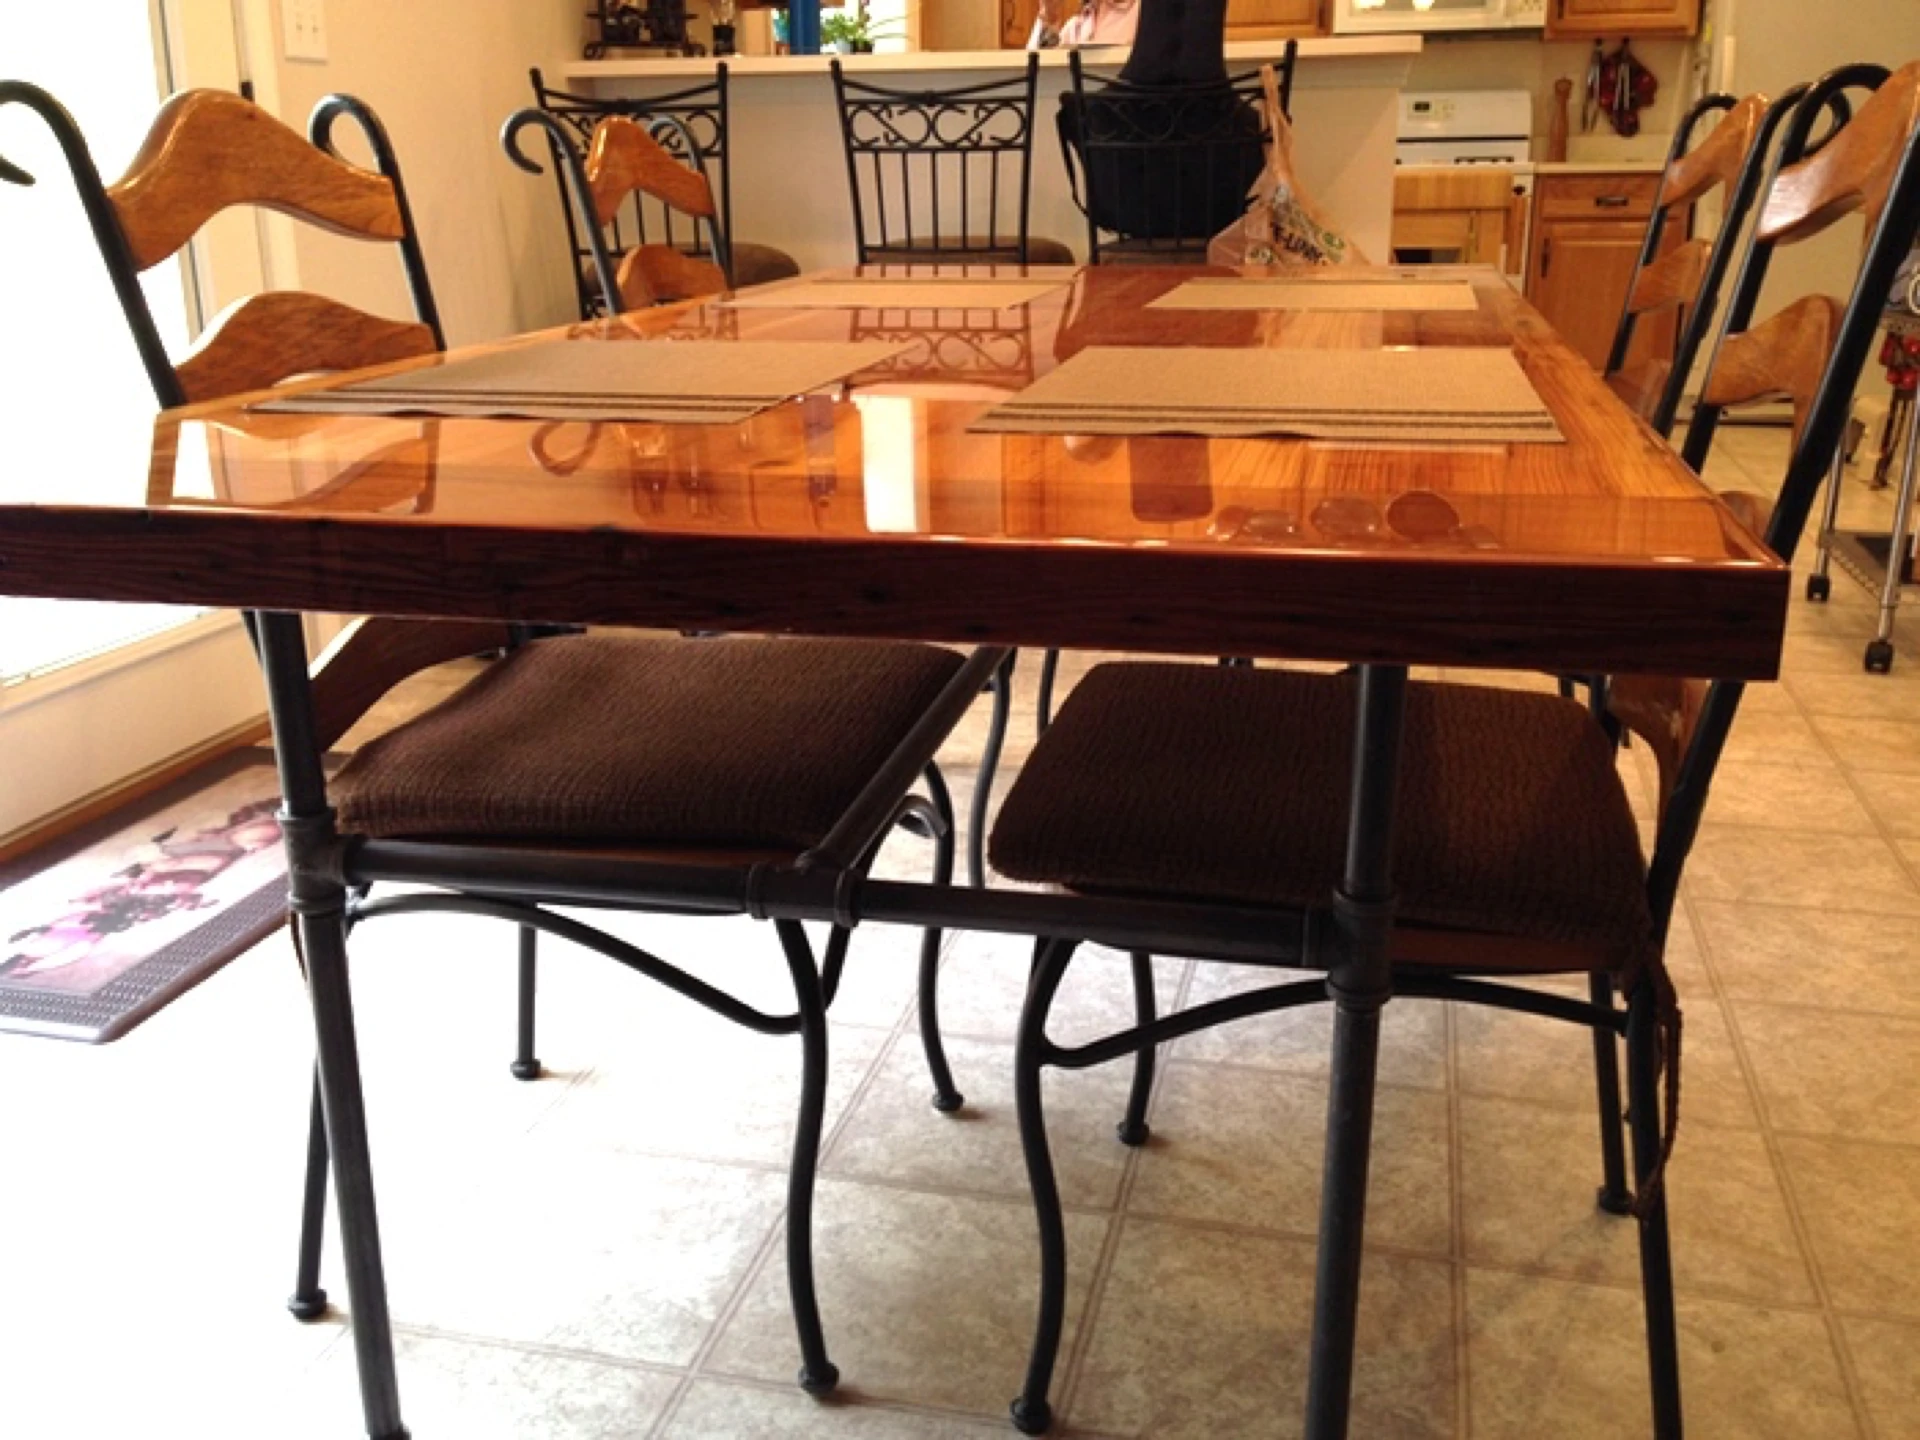
Completed Table